TL;DR:
- Golden hour photography in Rochester, NY occurs during the soft, warm light shortly after sunrise and before sunset, producing flattering images that change with each season. Proper planning, location scouting, and understanding the timing are essential for capturing the best light, especially during Rochester’s extended winter golden hours. Using the right gear, setting adjustments, and weather awareness help photographers maximize the rich, natural glow unique to Rochester’s seasonal landscape.
Golden hour photography in Rochester, NY is the practice of shooting during the soft, warm light that appears shortly after sunrise and in the 1–2 hours before sunset, producing naturally flattering images that no studio light can replicate. Photographers call this period the “magic hour” because the sun sits low on the horizon, scattering light at a shallow angle that softens shadows and wraps subjects in a warm, golden glow. Rochester’s four distinct seasons make this effect especially varied and dramatic. Spring magnolia blooms at Highland Park, summer haze over Lake Ontario, autumn foliage along the Genesee River, and snow-reflected winter light each transform golden hour into something entirely different. Whether you are an enthusiast chasing landscapes or a couple planning an engagement session, this guide gives you everything you need to work with Rochester’s light.
When is golden hour in Rochester, NY?
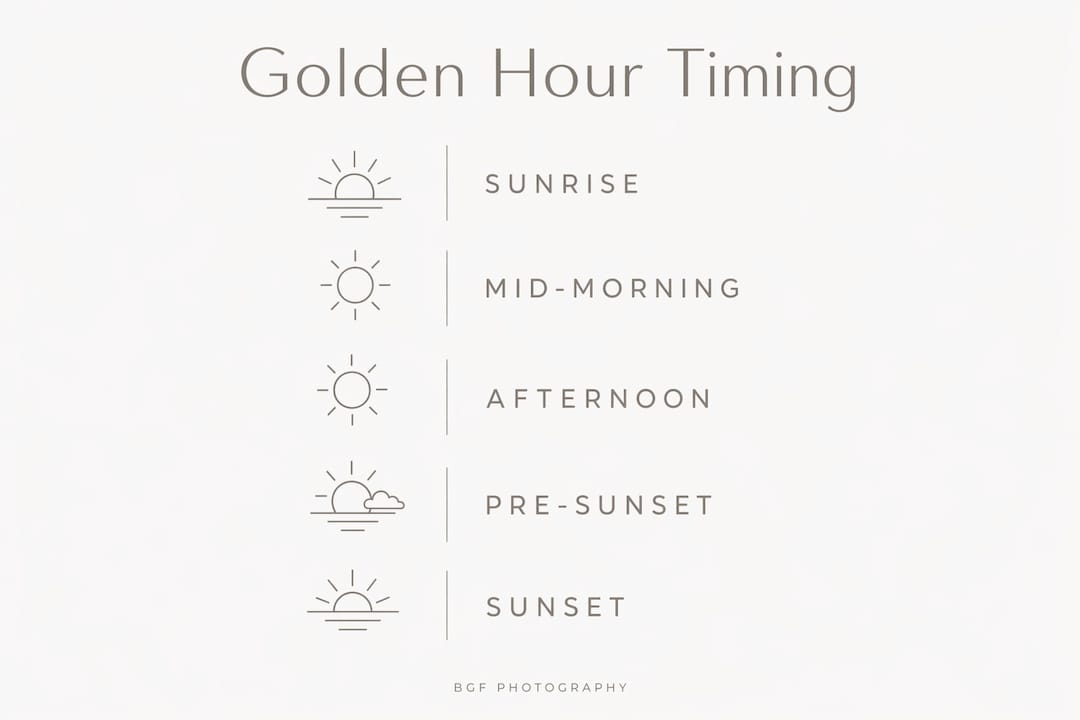
Golden hour occurs twice daily in Rochester: shortly after sunrise and in the 1–2 hours immediately before sunset. The exact times shift significantly across the year because Rochester sits at approximately 43 degrees north latitude, which creates long summer days and short winter ones.
Seasonal golden hour timing in Rochester
The table below gives you a practical reference for planning shoots across the year. Times are approximate and shift week to week, so always verify with a tool like sunrisewhen.com before booking a session.
| Season | Approximate Sunset | Golden Hour Start | Notes |
|---|---|---|---|
| Winter (Dec–Feb) | 4:30–5:15 PM | 3:30–4:15 PM | Low sun angle, long shadows, dramatic contrast |
| Spring (Mar–May) | 7:30–8:00 PM | 6:30–7:00 PM | Warm tones, blooms add color |
| Summer (Jun–Aug) | 8:30–9:00 PM | 7:30–8:00 PM | Extended window, hazy warmth |
| Fall (Sep–Nov) | 6:00–7:30 PM | 5:00–6:30 PM | Rich amber and red tones from foliage |
Rochester’s winter golden hour is underrated. The sun stays low all afternoon, which means you get near-golden-hour quality light for two or three hours rather than one. That is a real advantage when you need more flexibility with a client’s schedule.
Golden hour lasts roughly 60 minutes, and the best light within that window is often just the final 15–20 minutes before the sun drops below the horizon. That short window demands preparation.
Pro Tip: Download a sun-tracking app like PhotoPills or Sun Surveyor before your shoot. Both show you the exact sun position and direction at any Rochester location, so you can pre-visualize your shot before you ever arrive.
Weather matters as much as timing. Overcast days diffuse light and reduce golden hour intensity. Partly cloudy skies, on the other hand, often produce the most dramatic results because clouds catch and amplify warm colors just after the sun dips. Check the National Weather Service forecast for Rochester the morning of your shoot and look for partly cloudy conditions rather than full sun.
What are the best golden hour spots in Rochester?
Rochester offers a range of locations that each interact with golden hour light differently. The right spot depends on whether you are shooting portraits, landscapes, or engagement sessions.
Highland park
Highland Park’s spring magnolia blooms combine with golden hour light to create one of the most visually layered backdrops in the region. The soft pink and white blossoms catch warm light and reflect it back onto subjects, acting almost like a natural reflector. Outside of spring, the park’s rolling hills and mature tree canopy create dappled light patterns that work well for portraits year-round.
Pros: Natural color variety, open fields for wide compositions, accessible parking. Cons: Crowded during the Lilac Festival in May, limited open sky for wide sunset shots.
Ontario beach park
Ontario Beach Park on the shore of Lake Ontario gives you an open western horizon, which is exactly what you need for Rochester sunset photography. The water reflects warm tones back into the frame, and the pier creates strong leading lines toward the setting sun. Summer evenings here are particularly striking because the lake’s humidity creates a soft atmospheric haze that intensifies orange and red tones.
Pros: Open sky, water reflections, strong compositional lines. Cons: Wind can be a challenge for portrait subjects with longer hair, and the beach gets busy on summer weekends.
Cobb’s Hill reservoir
Cobb’s Hill Reservoir sits on elevated ground in the city’s east side, giving you a panoramic view of the Rochester skyline with the western sky as your backdrop. This is the best Rochester photography location for combining urban context with natural golden light. The reservoir’s circular path also makes it easy to reposition quickly as the light shifts.
Pros: Elevated views, skyline context, less crowded than lakefront spots. Cons: No water reflections, limited foreground variety.
Downtown Rochester
Downtown Rochester works especially well for golden hour portraits and engagement sessions because the glass and steel buildings reflect warm light in unexpected directions. The East End neighborhood and the area around the Genesee Riverway Trail offer textured brick walls and open sky that catch late-afternoon light beautifully.
Pros: Urban texture, reflected light from buildings, variety of backdrops within walking distance. Cons: Requires permits for commercial shoots in some areas, traffic noise.
Pro Tip: Scout your chosen location at the same time of day, one week before your shoot. Light changes week to week, and a scouting visit tells you exactly where the sun will be and which angles work best.
What gear and settings work best for golden hour?
The right equipment makes a measurable difference during golden hour because the light changes fast and the exposure window is narrow.
Camera settings for golden hour
Start with a wide aperture between f/1.8 and f/2.8 for portraits. This separates your subject from the background and lets in enough light as the sun drops. Set your ISO between 100 and 400 to keep noise low while the light is still strong, and raise it incrementally as the session progresses. Shutter speed should sit between 1/200s and 1/500s for portraits to freeze any subject movement.
For landscapes at locations like Ontario Beach Park, stop down to f/8 or f/11 to keep the full scene sharp. Use a tripod as the light fades and drop your shutter speed accordingly.
Gear comparison for golden hour shoots
| Gear | Best Use Case | Key Advantage |
|---|---|---|
| 50mm f/1.8 prime lens | Portraits and engagement sessions | Shallow depth of field, lightweight |
| 24–70mm zoom lens | Versatile location shoots | Flexibility without changing lenses |
| 70–200mm telephoto | Compressed backgrounds, candid shots | Flatters subjects, beautiful background blur |
| Reflector (5-in-1) | Fill shadows in portraits | Balances warm light without flash |
| Tripod | Landscapes, low-light end of session | Sharp images as shutter speed slows |
A reflector fills shadows during golden hour portraits, balancing warm light without overpowering the natural glow. A 5-in-1 reflector with a gold side adds extra warmth, while the white side gives a more neutral fill. One assistant holding a reflector at a 45-degree angle opposite the sun is often all you need to lift unflattering shadows under a subject’s eyes.
Smartphone cameras capture excellent golden hour photos when you use manual exposure controls or apps like Halide or ProCamera. These apps let you lock exposure and white balance independently, which prevents the phone’s auto-exposure from blowing out the bright sky while your subject goes dark.
Pro Tip: Clean your lens before every golden hour shoot. Backlit shooting during golden hour is beautiful, but a single smudge on your front element will turn into a distracting flare that ruins an otherwise perfect frame.
How do you execute a golden hour shoot step by step?
Execution separates good golden hour photos from great ones. Follow this sequence to get the most out of every session.
-
Confirm your timing. Check sunrisewhen.com the day before your shoot and note the exact sunset time. Plan to arrive at your location 30 minutes early to set up and test your settings while the light is still strong.
-
Set your white balance manually. Auto white balance often corrects the warm tones you actually want. Set your white balance to Cloudy or Shade (around 6500K) to preserve the golden cast in your images.
-
Start with backlit compositions. Position your subject with the sun behind them and slightly to one side. This creates a rim of warm light around their hair and shoulders, which is the signature look of golden hour portraits. Use your reflector or a fill flash set to minus 1.5 stops to lift the subject’s face.
-
Work the side light. As the sun drops lower, move your subject so the light hits them from the side. Side lighting reveals texture and dimension in both faces and landscapes. For engagement sessions, this angle is particularly flattering because it wraps light around both subjects simultaneously.
-
Shoot toward the sun for silhouettes. In the final 10 minutes before sunset, expose for the sky rather than your subjects. This creates clean silhouettes against a gradient of orange, pink, and purple. Couples holding hands or sharing a moment work perfectly for this style of shot.
-
Adjust exposure as the light drops. Missing the window due to poor timing is the most common mistake photographers make. Set a timer on your phone for 10 minutes before sunset as a reminder to shift your exposure settings. Raise ISO in increments of one stop and slow your shutter speed to compensate.
-
Post-process with restraint. In Lightroom or Capture One, add warmth by nudging the temperature slider toward yellow and the tint toward magenta. Lift shadows slightly to recover detail without flattening the mood. Avoid over-saturating the orange channel, which quickly makes skin tones look unnatural.
Preparation and location scouting are the single biggest factors in golden hour photo quality. The light is too variable and too short-lived to improvise on the day.
Rochester’s seasonal changes add another layer of opportunity. Spring blooms at Highland Park transform golden hour sessions into uniquely local experiences, adding natural texture and color that you simply cannot replicate at any other time of year. Build your annual shoot calendar around these seasonal windows and you will always have something fresh to offer clients.
For engaged couples, golden hour portraits benefit from natural, relaxed posing. Ask your subjects to walk slowly toward you, talk to each other, or share a genuine laugh rather than holding a static pose. Golden hour light enhances warmth and mood in engagement portraits precisely because it rewards authentic, affectionate moments. A stiff pose under beautiful light still produces a stiff photo. For more creative direction, browse engagement session style examples to see how different approaches translate in real conditions.
Understanding how your wedding day timeline connects to golden hour is equally important for couples planning their big day. Building a 20-minute golden hour portrait block into your reception schedule can produce the most memorable images of the entire day.
Key takeaways
Golden hour photography in Rochester, NY rewards preparation: knowing your timing, scouting your location, and arriving ready to shoot are the three factors that determine whether you walk away with extraordinary images or missed opportunities.
| Point | Details |
|---|---|
| Know your local timing | Golden hour in Rochester runs 1–2 hours before sunset; use sunrisewhen.com to confirm exact times by season. |
| Scout locations in advance | Highland Park, Ontario Beach Park, and Cobb’s Hill Reservoir each offer distinct light and compositional advantages. |
| Use a reflector for portraits | A 5-in-1 reflector fills shadows and balances warm light without losing the natural golden glow. |
| Shoot backlit first, then side-lit | Start with rim-light backlit compositions, then shift to side lighting as the sun drops lower. |
| Post-process with restraint | Nudge temperature and tint toward warmth in Lightroom, but avoid over-saturating skin tones. |
What Rochester’s golden hour has taught me
I have shot golden hour sessions across Rochester in every season, and the honest truth is that winter golden hour is the most underused asset in this city. Most photographers and couples default to summer and fall because the weather is comfortable and the colors are obvious. But in January and February, Rochester’s low sun angle creates near-perfect directional light from about 2:30 PM onward. You get three hours of workable warm light instead of one. Clients are often surprised when I suggest a winter session, and they are almost always thrilled with the results.
The other thing I have learned is that Ontario Beach Park is genuinely one of the best portrait locations in western New York, not just Rochester. The combination of open sky, water reflection, and a long western horizon gives you a natural studio that no indoor venue can match. I have shot engagement sessions there in late September when the light turns amber and the lake is still warm enough to create atmospheric haze. Those images consistently become the ones couples print large and hang on their walls.
For beginners, my strongest advice is to stop waiting for perfect conditions. Partly cloudy days produce more interesting golden hour results than clear skies because the clouds catch and amplify color in ways that a clean blue sky never does. Go out, shoot in imperfect conditions, and study what the light actually does rather than what you expect it to do. That hands-on experience is worth more than any preset or tutorial.
The Finger Lakes region just south of Rochester also opens up extraordinary golden hour locations for couples willing to drive 30–45 minutes. Vineyard rows, open hillsides, and lake reflections create a completely different visual vocabulary from the city. If you have the flexibility, it is worth the trip.
— Billy
Book a golden hour session with BGF photography
BGF Photography specializes in candid wedding and engagement photography across Rochester and the surrounding region, with a particular focus on natural light and authentic moments.
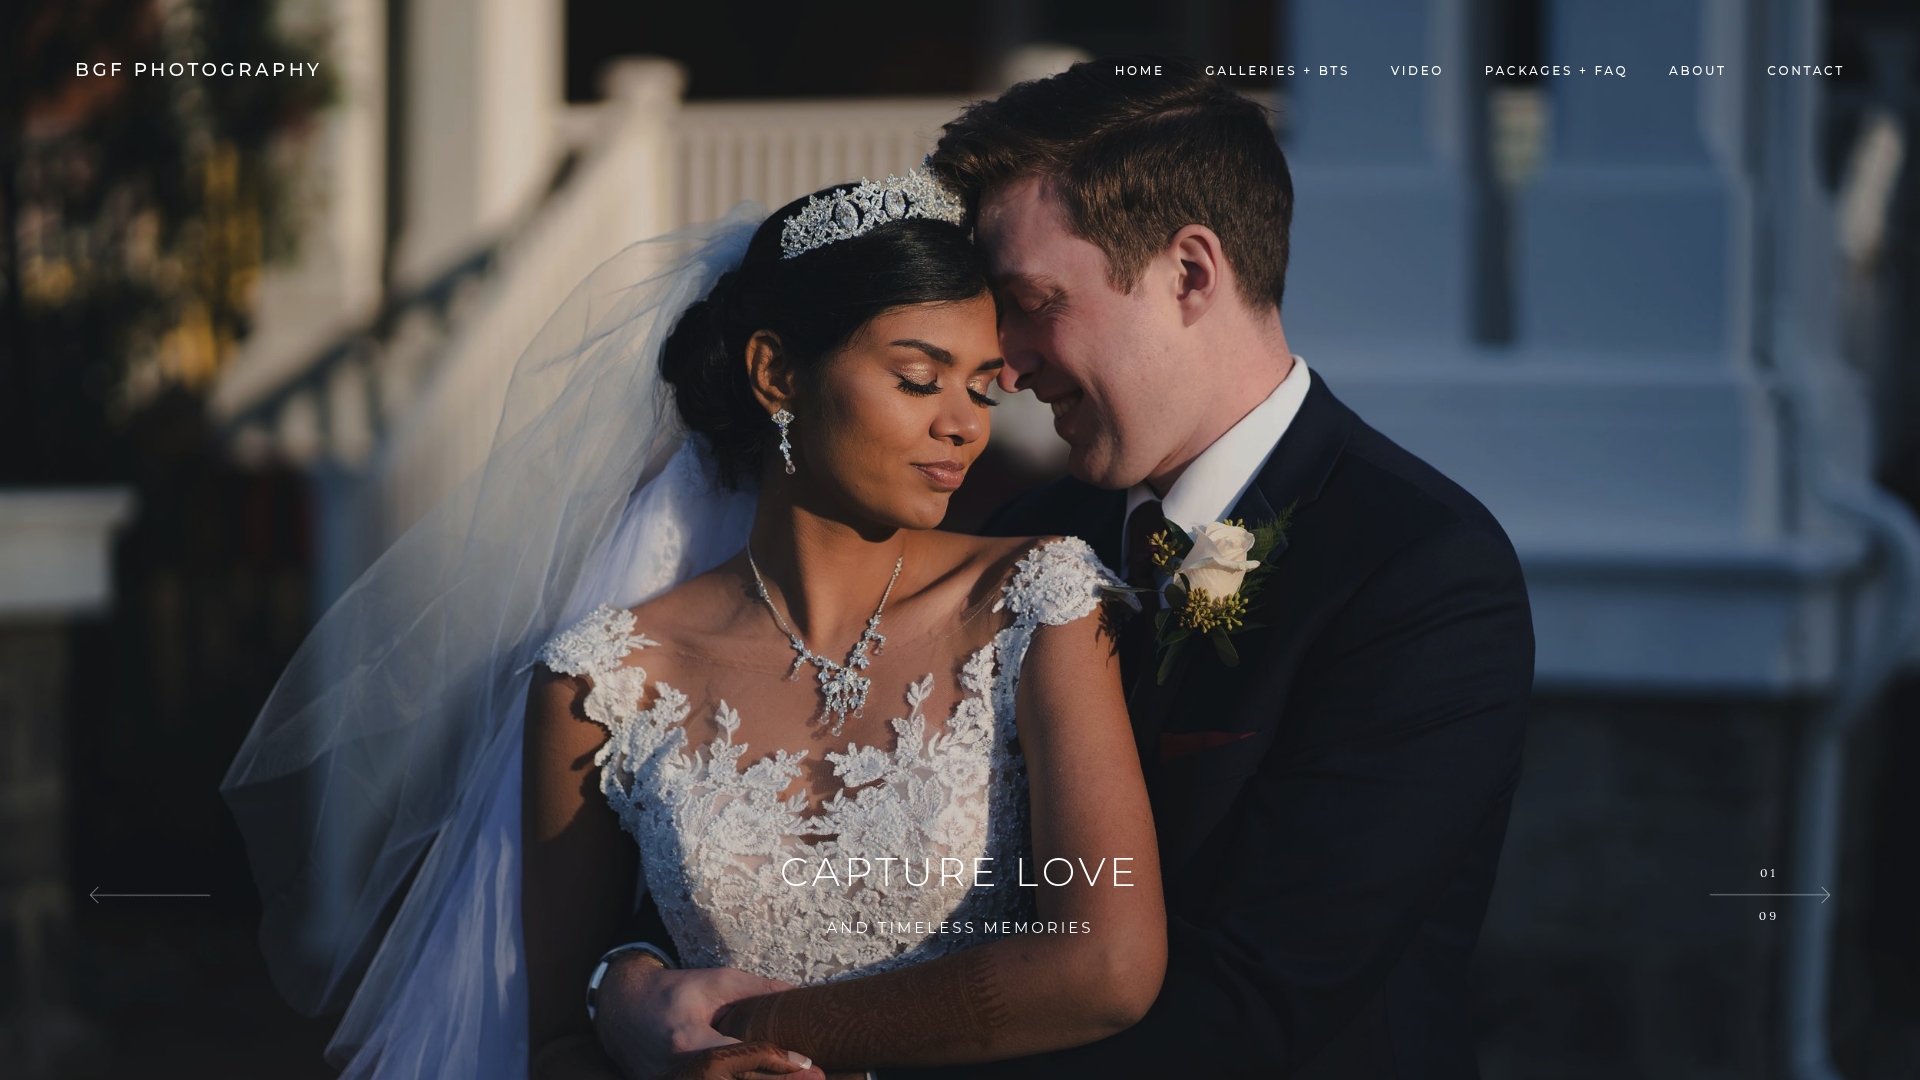
If golden hour portraits are on your list, BGF Photography builds sessions around Rochester’s seasonal light windows to give you the warmest, most flattering images possible. The hybrid photography and videography approach means you capture both still images and cinematic footage under one cohesive visual style. Clients consistently highlight the natural, unobtrusive shooting style as what sets BGF Photography apart. Browse photography packages and FAQs to find the right fit for your session, or explore the full portfolio and contact options at BGF Photography’s links page.
FAQ
When exactly is golden hour in Rochester, NY?
Golden hour in Rochester occurs shortly after sunrise and in the 1–2 hours immediately before sunset. Exact times vary by season, so use a tool like sunrisewhen.com to confirm the precise window for your shoot date.
How long does golden hour last for photography?
Golden hour lasts approximately 60 minutes, but the most flattering light is concentrated in the final 15–20 minutes before sunset. Arrive early and be ready to shoot before the window opens.
What are the best locations for golden hour portraits in Rochester?
Highland Park, Ontario Beach Park, and Cobb’s Hill Reservoir are the top Rochester photography locations for golden hour. Each offers a different combination of natural light, backdrops, and compositional options suited to portraits and landscapes.
Do I need professional camera gear for golden hour photography?
Professional gear helps, but smartphone cameras produce excellent golden hour photos when you use manual exposure apps like Halide or ProCamera. The most important factor is timing and preparation, not equipment.
What is the biggest mistake photographers make during golden hour?
Missing the window due to poor timing is the most common error. Arrive 30 minutes before golden hour starts, set a timer for 10 minutes before sunset, and adjust your exposure settings proactively as the light fades.