
Yes, you can get stunning night wedding photos, and the images almost always rank among a couple’s favorites in the whole gallery. The single most important first step is planning the light and timing with your photographer before the day arrives, not improvising once the sun goes down.
A few things separate a couple who nails their after-dark shots from one who ends up with grainy, forgettable frames:
-
A lighting plan set in advance. Off-camera flash, string lights, or a sparkler exit each need different setup time and gear.
-
An extra dedicated amount of time carved out of the timeline specifically for night portraits, separate from the reception.
-
A basic understanding of flash and ambient exposure, even if you’re hiring it out, so you can brief your photographer with confidence.
BGF Photography builds this into every wedding day timeline it shoots in Buffalo, Rochester, and the Finger Lakes, because the after-dark window is often where the most unexpected, editorial-feeling images come from.
Key Takeaways
Night wedding photos succeed when the lighting plan, extra time, and technical settings are agreed on before the wedding day, not improvised in the dark.
| Point | Details |
|---|---|
| Plan light first | Decide on flash, string lights, or ambient light with your photographer before the wedding day. |
| Allocate real time | Build a dedicated 20 to 45 minute window after dark, separate from reception coverage. |
| Test your location | Scout the venue at the same evening hour you’ll actually shoot to check for usable light. |
| Choose a recipe | Sparklers, light trails, and neon portraits each need different gear and setup time. |
| BGF Photography builds it in | Hybrid packages plan for after-dark lighting, staffing, and venue logistics from the first consult. |
Table of Contents
Why Include Night Wedding Photos In Your Gallery?
Night portraits give a wedding album a completely different emotional register than daylight shots. Where afternoon light is soft and even, night photography lets a photographer sculpt mood: deep shadows, a single warm pool of light on the couple’s faces, a sky gone violet just before full dark. It reads as intimate and a little dramatic, which is exactly the tone most couples want for their last images of the night.
Some of the most memorable wedding photos simply can’t happen in daylight. A sparkler tunnel, a couple silhouetted against a lit-up skyline, a portrait under a real starfield, these only exist after dark. They also diversify a gallery that might otherwise be full of similar-looking ceremony and portrait shots taken in the same golden light.
-
Editorial silhouettes against open sky or architecture
-
Sparkler or cold-spark exits that double as a natural end-of-night highlight
-
Star or Milky Way portraits in low light pollution areas
-
Neon sign or marquee-lit portraits with strong color contrast
-
Candid dance floor energy that daylight coverage never captures
Pro Tip: Ask your photographer to shoot at least one wide establishing shot at night, not just close portraits. A couple dancing under string lights, framed by the whole tent or barn, often becomes the image guests remember most.
When To Schedule Night Photos And What To Plan For
Timing night photos well means working backward from sunset, not treating darkness as an afterthought squeezed in after speeches. For an evening ceremony, starting between 5:00 PM and 7:00 PM works best depending on the season, because it lets you capture golden-hour portraits before the reception shifts into full dark. Most planning guides also recommend beginning 60 to 90 minutes before sunset if you want that transitional light before committing to flash-lit portraits.
Build a dedicated 20 to 45 minute window into the timeline specifically for after-dark shots. This is separate from cocktail hour or the reception, and it should happen early enough in the night that the couple, wedding party, and photographer aren’t rushing to beat a hard curfew. If your venue has one, confirm it now, not the week of the wedding.
A few logistics worth locking down ahead of time:
-
Confirm whether extended coverage after dark triggers an overtime fee with your photographer or videographer.
-
Ask the venue about noise curfews, especially if sparklers, music, or a send-off are planned.
-
Check that the bridal party has warm layers on hand. Night shoots run longer than people expect, and shivering shows up in photos.
-
Assign one person, often a planner or usher, to help herd guests for group shots once light gets low and people scatter.
Because budget guides suggest allocating 10 to 15 percent of total decor spend to lighting, it’s worth deciding early whether that money goes toward string lights, uplighting, or a lounge area that photographs well after sunset.
How To Choose Night-Photo-Friendly Locations
Not every pretty daytime venue photographs well once the sun drops—when designing your space, consider expert advice on wedding venue website design to highlight how lighting and architecture support stunning night photos. What actually reads well in a night photo is contrast: a single strong light source against a dark background. That could be festoon lights strung over a patio, a lit building facade, a neon sign, or simply open sky with enough negative space to silhouette a couple against it.
Look for architecture with visible texture under uplighting, water or glass that can bounce reflections, and enough distance from harsh parking lot lighting or security floodlights to avoid ugly color casts. A checklist worth running through before booking:
-
Is there a power outlet within reasonable extension cord range for lighting setups?
-
Are there existing light sources (string lights, lanterns, signage) that add ambiance without extra gear?
-
Is there a spot dark enough for silhouettes or star portraits, away from streetlights?
-
Are pathways to that spot safe to walk in heels or dress shoes after dark?
Pro Tip: Visit your ceremony or reception venue at the same time of evening you’ll actually be shooting, ideally a few weeks out. A spot that looks charming at noon can turn into a wall of shadow by 8:00 PM, and you want to know that before your wedding day, not during it.
Lighting Options And When To Use Each
Every night wedding shot comes down to one choice: how you’re putting light on your subject. The tool matters less than the intent behind it. As PetaPixel’s guide to shooting after dark puts it, good night photography is rarely about flooding a scene with light. It’s about building deliberate pools of light exactly where you want the eye to go.
On-camera flash is the fastest option, useful for candid dance floor shots where speed matters more than finesse. Bounce flash, aimed at a ceiling or wall instead of straight at the subject, softens that same light without much extra setup time. A single off-camera flash on a stand, fired with a wireless trigger, gives you real directional control, the kind that creates a moody, sculpted portrait instead of a flat snapshot. Multi-light setups, usually two speedlights with modifiers like softboxes or grids, let a photographer light a couple separately from the background, which is how a lot of the most striking editorial night portraits get made.
Continuous LED panels are worth mentioning too, mostly for video or for photographers who want to see the light before they shoot it, though they draw more battery power than a speedlight. Gels matter here as well: clipping a CTO gel onto a flash and shooting with Tungsten white balance keeps skin tones natural against warm string lights or candlelight instead of turning subjects an odd shade of blue, a fix confirmed by ShutterReview’s reception lighting guide.
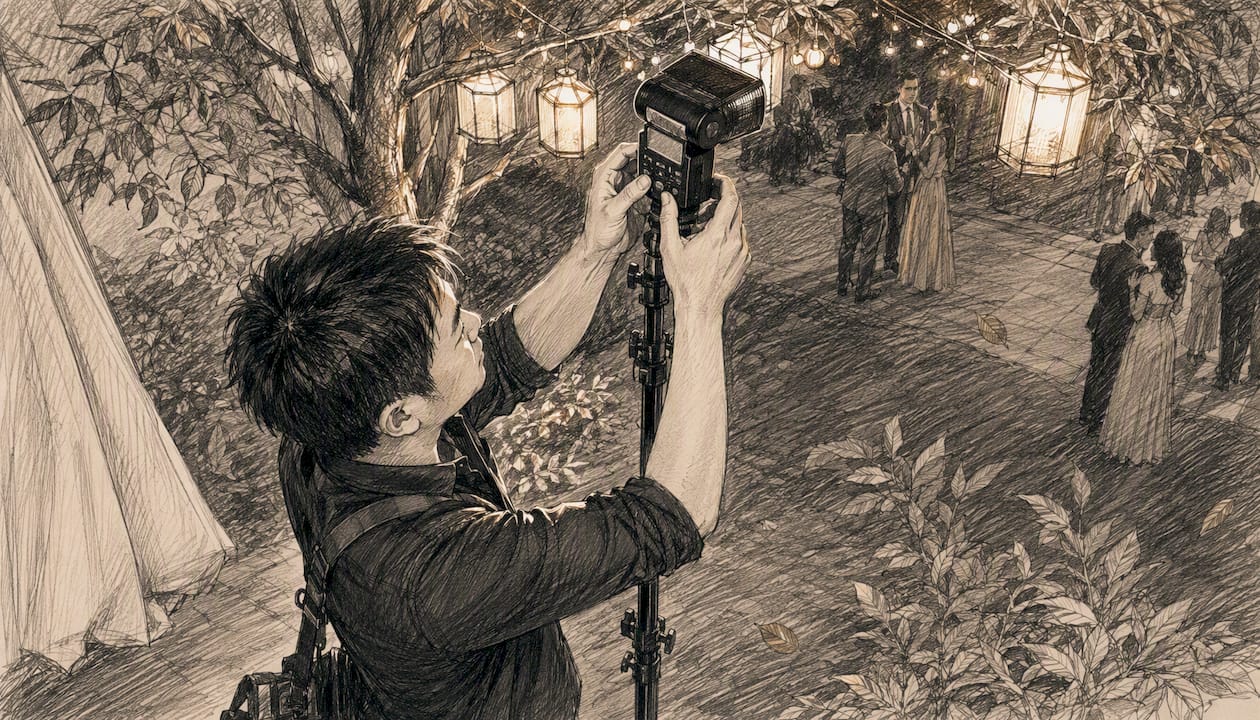
| Method | Setup Speed | Best For | Trade-Off |
|---|---|---|---|
| On-camera flash | Fast | Candid dance floor moments | Flat, less flattering light |
| Bounce flash | Fast | Indoor reception candids | Needs a light-colored ceiling or wall |
| Single off-camera flash | Moderate | Couple portraits, drama | Requires an assistant or stand |
| Multi-light setup | Slow | Editorial portraits | Takes real setup time |
| Continuous LED | Moderate | Video, preview lighting | Drains batteries faster |
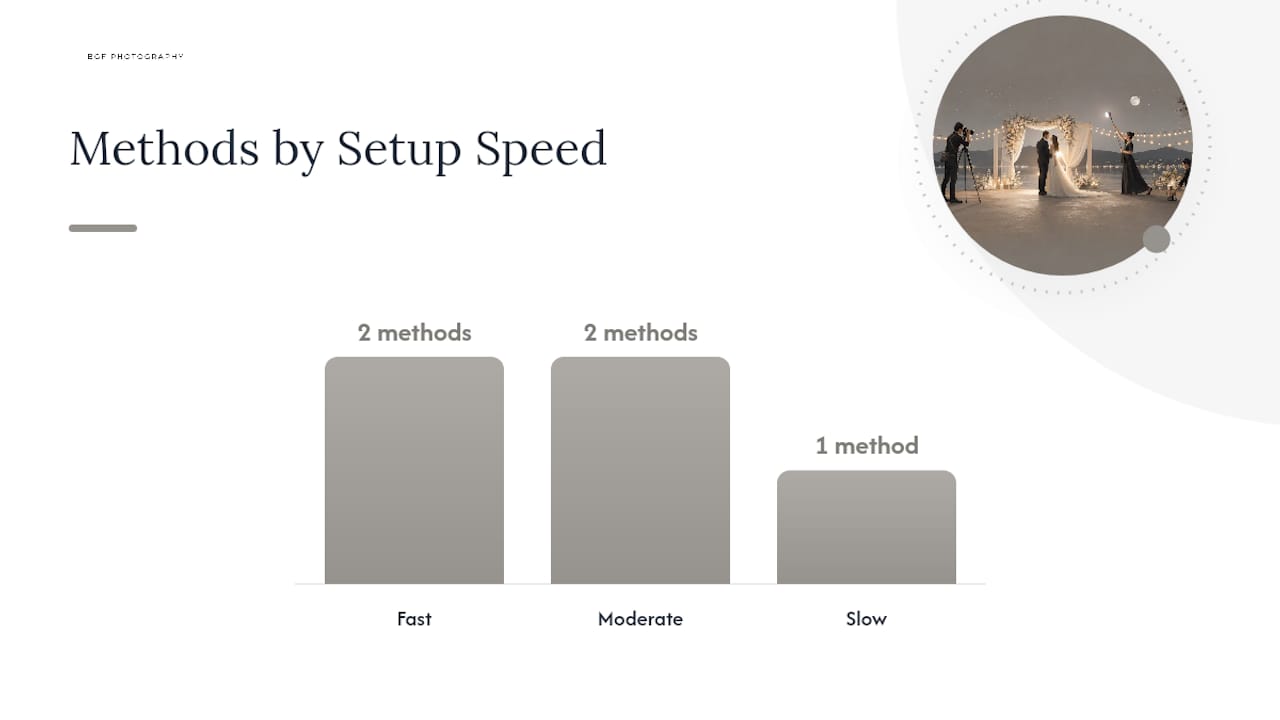
Pro Tip: If you want that romantic, film-like glow rather than a harsh flash look, ask your photographer whether they can gel their flash to match string lights or venue uplighting. It’s a small technical choice that changes the entire feel of a photo.
What Camera Settings Work Best For Night Wedding Portraits?
Night wedding photography is really a balancing act between two separate exposure controls: shutter speed governs how much ambient light you let in, and flash power governs how bright your subject looks. Once you understand that split, everything else is just adjustment.
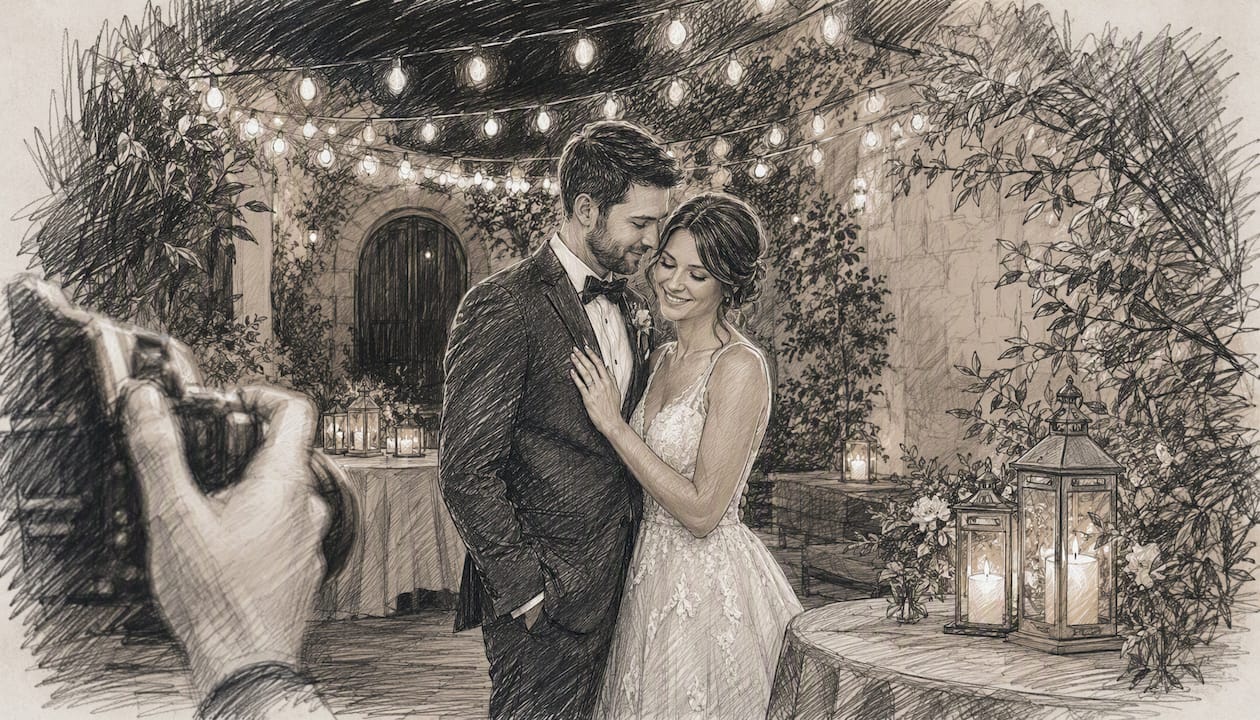
For portraits, a reasonable starting point is ISO 800 to 1600, aperture around f/1.8 to f/2 for an intimate couple shot, or f/2.8 to f/4 for a larger group, with shutter speed set based on how much background ambiance you want to hold onto. For dance-floor candids, ISO can climb toward 3200 depending on the camera body, since speed and low blur matter more than absolute cleanliness in a fast-moving crowd.
A few techniques worth practicing before the wedding day, not during it:
-
Rear curtain sync fires the flash at the end of the exposure instead of the beginning, so motion trails (a spinning dress, a dance move) appear behind the subject instead of in front of them, which looks far more natural.
-
Dragging the shutter means intentionally using a slower shutter speed, often 1/30s to 1/60s, so ambient light like string lights or a sunset glow shows up behind a flash-lit subject instead of going black.
-
Pre-focusing on a fixed spot, like where a couple will stand for a first dance, saves precious seconds when autofocus struggles in low light.
-
Using a tripod for anything requiring a long exposure, including light trails or star portraits, since handheld shots below about 1/30s will almost always blur.
Pro Tip: If your camera’s autofocus is hunting in the dark, switch to manual focus and use a flashlight or a phone light held by an assistant to give it something to grab onto. It’s a five-second fix that saves an entire portrait session.
How To Pose And Direct Couples At Night
Posing at night works differently than in daylight, mostly because the eye reads shape and light before it reads detail. A few reliable approaches:
-
Silhouettes against open sky or a lit doorway need almost no direction beyond “stand close, foreheads together.” The shape does the work.
-
Three-quarter lit portraits, where one side of the couple’s face catches a warm light source and the other falls into shadow, feel intimate without needing a big production.
-
Movement shots, like a twirl or a walk toward the camera, pair well with rear curtain sync so the motion trails behind them instead of blurring the whole frame.
-
Freezing emotion with flash works best for a genuine laugh or a kiss. Direct the moment loosely (walk, turn, kiss) rather than posing a static smile, since flash tends to flatten anything too rehearsed.
Keep direction short and physical: “step closer,” “turn your chin toward me,” “walk slowly toward that light.” Long verbal instructions in the dark tend to confuse people who can barely see the photographer’s face anyway.
Creative Shot Recipes For Night Weddings
These five setups cover most of what couples actually ask for when they say they want “cool night photos.”
-
Sparkler exit. Line up 10 to 20 guests in two rows, light sparklers on a signal (not all at once), and shoot with a slower shutter, around 1/15s to 1/30s, to capture the light trails while the flash freezes the couple. Budget 10 minutes for setup and one run-through. Cold-spark machines are a popular alternative where venues restrict open flame.
-
Light trails. Position the couple in a static pose while a car, string of fairy lights, or even a phone flashlight moves across the frame during a long exposure (2 to 5 seconds on a tripod). Needs a tripod and a helper to move the light source steadily.
-
Star or Milky Way portrait. These require real distance from city light pollution and a clear sky, plus a tripod and a long exposure of several seconds, since dark-sky conditions are non-negotiable for this shot. Best attempted at rural venues, not downtown rooftops.
-
Neon sign portrait. Find any illuminated sign, a bar’s marquee, a vintage motel sign, a “Bar” arrow, and shoot the couple lit mostly by that color. Takes minutes and needs no extra gear beyond a fast lens.
-
Umbrella-lit portrait. In rain or for a moodier look, a single off-camera flash through a shoot-through umbrella creates a soft, wraparound glow. Needs a stand and an assistant but takes under 15 minutes.
Pro Tip: Always confirm sparkler or cold-spark policies with the venue before the day, and keep a bucket of water nearby regardless of what’s approved. It takes thirty seconds and avoids a genuinely dangerous situation.
Minimal Gear Checklist For Night Wedding Photography
A photographer doesn’t need a truck full of equipment to shoot night portraits well, but a few items are close to mandatory:
-
At least one fast prime lens (f/1.8 or wider) and a 24-70mm zoom for flexibility
-
Two speedlights minimum, with wireless triggers
-
A light stand or two, plus an assistant to hold or move them
-
CTO gels for color-matching flash to warm ambient light
-
Spare batteries for both camera and flashes (night shoots drain them fast)
-
A tripod for any long-exposure or star portrait work
Couples can help too, in small but real ways: comfortable shoes for anyone doing a walking or dancing shot, a designated point person who can wrangle guests for a sparkler line, warm layers for the wedding party, and even a small portable LED lantern that doubles as ambient decor and a focus-assist light.
| Point | Details |
|---|---|
| Photographer gear priority | Two speedlights and a fast prime cover most night scenarios without heavy setup. |
| Couple’s role | Warm layers and a point person for group shots save real time after dark. |
| Tripod necessity | Any light trail or star portrait requires a tripod for exposures over one second. |
Inspiration: Example Night Looks To Guide Your Shot List
Pointing your photographer to a specific look speeds up the whole conversation. Five worth having in your back pocket:
-
Soft backlit silhouette. A doorway or open sky behind the couple, shot with minimal or no flash, letting the shape carry the image.
-
Neon sign portrait. Couple lit almost entirely by a colored sign, high contrast, minimal extra gear.
-
Sparkler tunnel. The classic exit shot, best with rear curtain sync and a coordinated group.
-
Star-field portrait. Requires a rural, dark-sky venue and a tripod, but delivers a genuinely rare image.
-
Warm string-light dinner shot. Wide frame, gelled flash, capturing the whole reception glow rather than just faces.
Late in the night, don’t skip the smaller details either. Half-empty glasses, undone napkins, and a pile of dancers’ shoes by the floor capture the feeling of the party in a way posed portraits never quite do, and they round out a gallery that would otherwise be all faces and no atmosphere. BGF Photography’s notes on detail photography cover more of these small, easy-to-miss shots worth requesting.
Pro Notes From BGF Photography: Tips We Actually Use
Billy has led BGF Photography’s approach to hybrid wedding coverage across Buffalo, Rochester, and the Finger Lakes, with an emphasis on candid, unobtrusive documentation paired with a nostalgic film sensibility.
Two setups come up again and again on real wedding days. The first is a sparkler exit where the biggest failure point isn’t the sparklers, it’s the crowd. Guests bunch up, block each other, and the shot falls apart. Slowing the shutter and giving the group a clear, wide corridor to stand in makes the difference between a chaotic frame and a clean one. The second is the “last dance” shot under string lights, where dragging the shutter to hold onto that warm ambient glow, instead of blasting flash and blowing it all to white, keeps the whole room’s mood intact in the final image.
Night photography isn’t about adding more light. It’s about deciding exactly where the light should fall and letting everything else go dark. That restraint is what makes a night portrait feel intentional instead of accidental.
Pro Tip: Ask to see a full gallery from a photographer’s past evening wedding, not just three highlight shots. Consistency across fifty images tells you far more than one perfect frame.
What To Ask Your Photographer Before Booking
Confirming a few specifics ahead of time prevents the most common night-photo disappointments.
-
Ask directly whether they have experience shooting weddings after dark, and request a full gallery from one, not a curated highlight reel.
-
Confirm what lighting gear they bring as standard versus what costs extra.
-
Ask whether an assistant will be present for off-camera lighting setups, since a solo photographer juggling flash and camera loses time.
A short list to run through together before the wedding:
-
Does the package include coverage past sunset, or does that trigger an overtime fee?
-
Is there a mood board or shot list the photographer can review in advance?
-
What does the venue require for power access, noise curfews, or open-flame restrictions?
Communicating your vision clearly before the day, rather than during it, is consistently what separates couples who get the exact shots they wanted from those who wish they’d asked sooner.
Why Night Photos Matter To Me
I’ve watched a lot of couples relax the moment the sun goes down. The formal portraits are done, the pressure of the ceremony has passed, and what’s left is closer to how they actually act together: goofier, looser, sometimes quieter. Night photos tend to catch that shift better than almost anything shot in daylight, because the light itself gives permission to slow down. A single warm pool of light on two people who’ve stopped performing for the camera is, to me, worth more than a technically perfect daytime portrait taken while everyone’s still a little nervous.
How BGF Photography Handles Your Night Wedding Coverage
BGF Photography builds after-dark coverage into its hybrid packages as a planned part of the day, not an afterthought squeezed in before the reception winds down. That means off-camera lighting setups, gelled flash for warm receptions, and coordination for sparkler exits or nighttime portraits are part of the conversation from the first planning call, alongside candid photography, videography, and optional nostalgic film work.
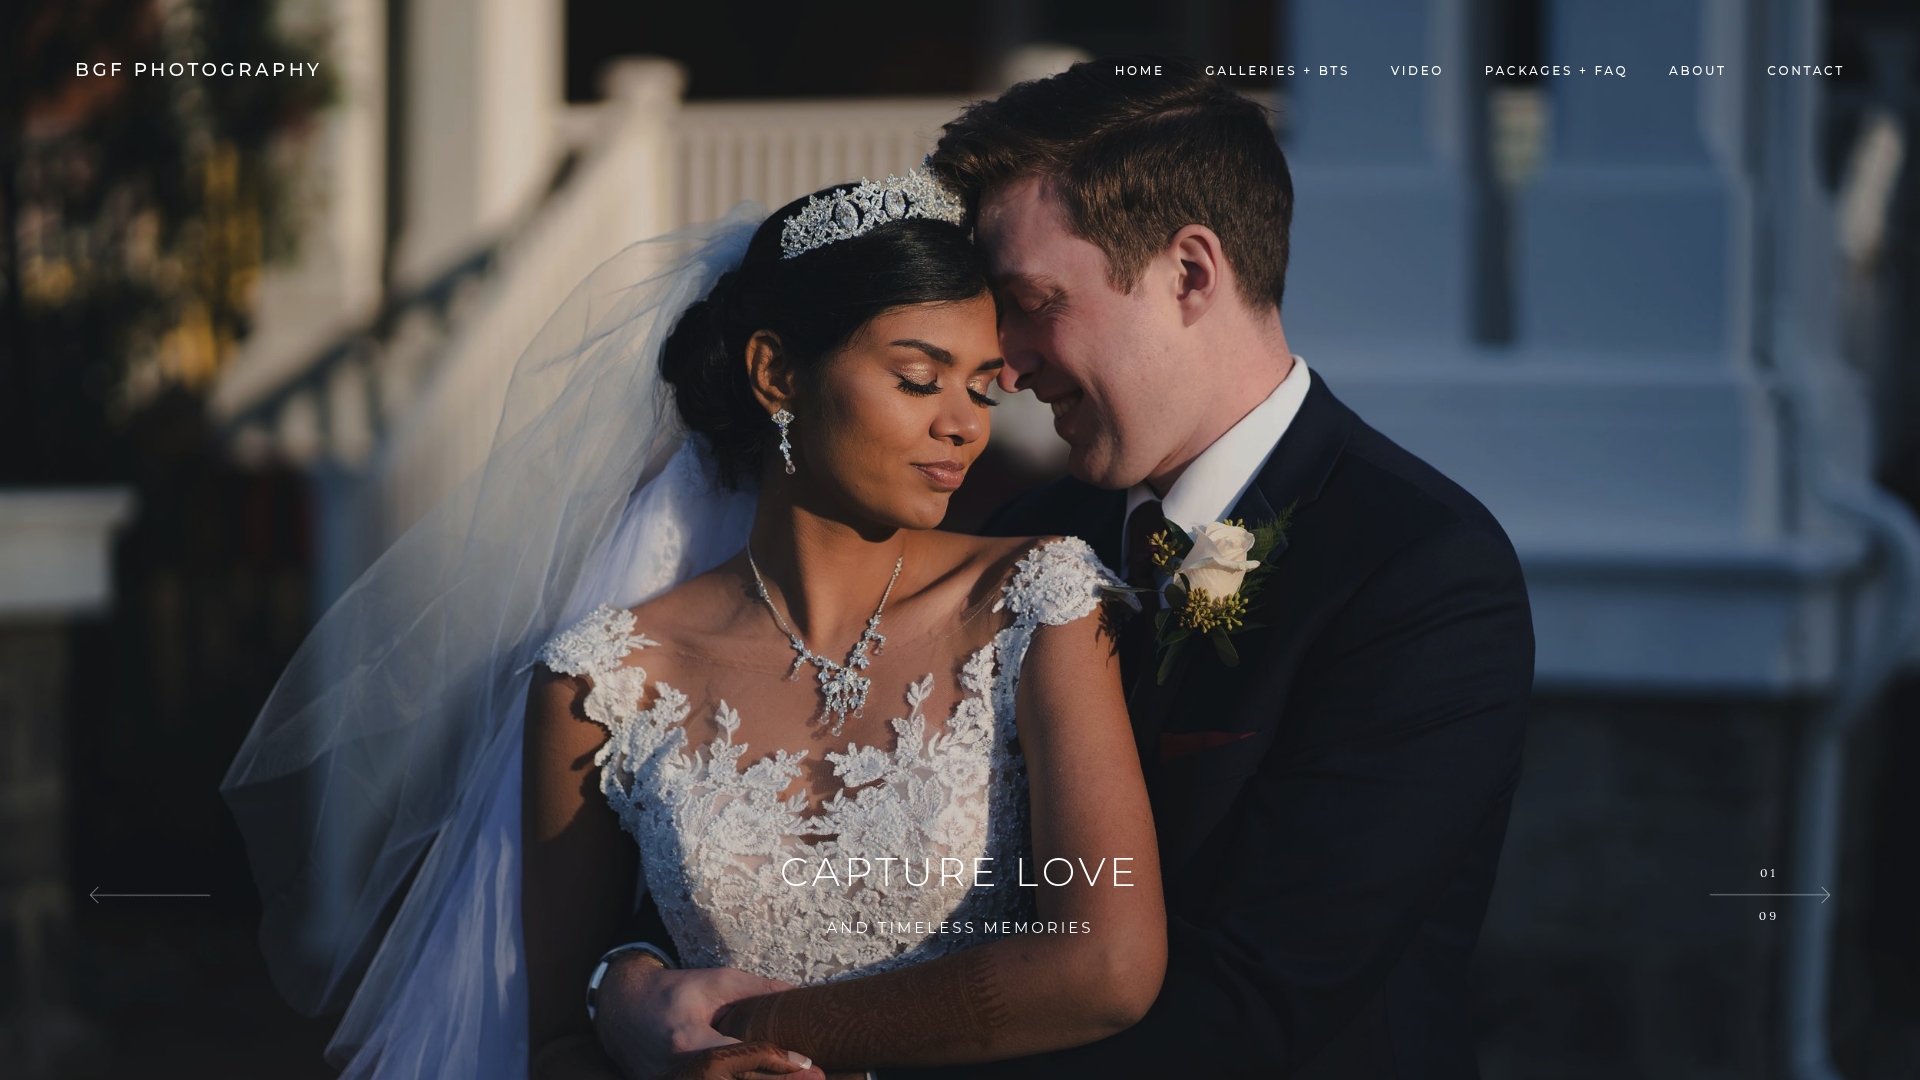
A typical night-focused package includes dedicated time on the timeline for after-dark portraits, an assistant for off-camera lighting when the shot calls for it, and full coordination with your venue on power access and curfews well before the wedding date. If you’re planning an evening ceremony or want to make sure your sparkler exit or string-light dance floor gets the coverage it deserves, check BGF Photography’s packages and availability and request a consultation to talk through your timeline.
Sources
-
Planning an Evening or Night Wedding: A Complete After-Dark Guide | Plan A Wedding
-
Night Wedding Reception Photography: Flash & Light Guide | ShutterReview
-
What to Do When it Gets Dark: Night Wedding Photography Tips | PetaPixel
-
Add These End-of-the-Night Detail Shots to Your Wedding Photos | Washingtonian
FAQ
Can You Take Wedding Photos At Night?
Yes. With the right flash technique, camera settings, and a planned lighting setup, night portraits are often among the most striking images in a wedding gallery.
Which Color Looks Best At A Night Wedding?
Warm tones, gold, amber, and deep red, tend to photograph best against dark backgrounds because they complement string lights and candlelight rather than competing with them.
Are Sunset Wedding Photos Worth It?
Yes. Starting portraits 60 to 90 minutes before sunset captures golden-hour light before the transition to full dark, giving you both a soft daylight portrait set and a separate after-dark set in one evening.
How Do I Ask My Photographer For Sparkler Exit Photos?
Request it specifically in your shot list, confirm your venue allows sparklers or cold sparks, and ask your photographer whether they’ll use a slower shutter speed to capture the light trails clearly.