
TL;DR:
- Lighting fundamentally influences wedding photos by shaping mood, color, and emotion.
- Professional photographers plan their techniques and timelines to optimize the best natural and artificial light.
Lighting is the single most critical variable in wedding photography, directly shaping mood, color accuracy, and emotional impact in every frame. A beautifully styled ceremony can produce flat, lifeless photos under harsh overhead light. The same scene under warm, directional golden hour light becomes cinematic and timeless. Understanding why lighting matters in wedding photos gives you real power to plan your day, choose the right photographer, and walk away with images that genuinely reflect how the day felt. This guide covers the types of light you will encounter, the techniques professionals use, and how to plan your timeline around the best light of the day.
Why lighting matters in wedding photos
Lighting is the primary factor that separates professional-grade wedding photos from amateur results. It controls depth, color accuracy, mood, and whether the emotion in a moment reads clearly on screen. No amount of post-editing fully recovers a photo shot in bad light.
The industry term photographers use is "light quality." It describes not just brightness but the direction, softness, and color temperature of a light source. Hard light from a bare bulb or midday sun creates sharp shadows and washed-out skin tones. Soft light from an overcast sky or a large window wraps around faces evenly, producing flattering, dimensional portraits. Knowing this distinction helps you understand why two photos taken in the same room can look completely different.
Lighting also carries emotional weight. Warm, amber tones read as romantic and intimate. Cool, flat light reads as clinical or distant. A skilled photographer reads the light in a room the same way a director reads a set. The foundational skill of seeing light is what distinguishes timeless wedding images from photos that feel dated within a few years.
How do different types of light affect wedding photos?
Wedding days compress many distinct lighting scenarios into a single day. Morning getting-ready shots, outdoor ceremonies, midday portraits, and evening receptions each demand a different technical approach.
Natural light: the gold standard with real limits
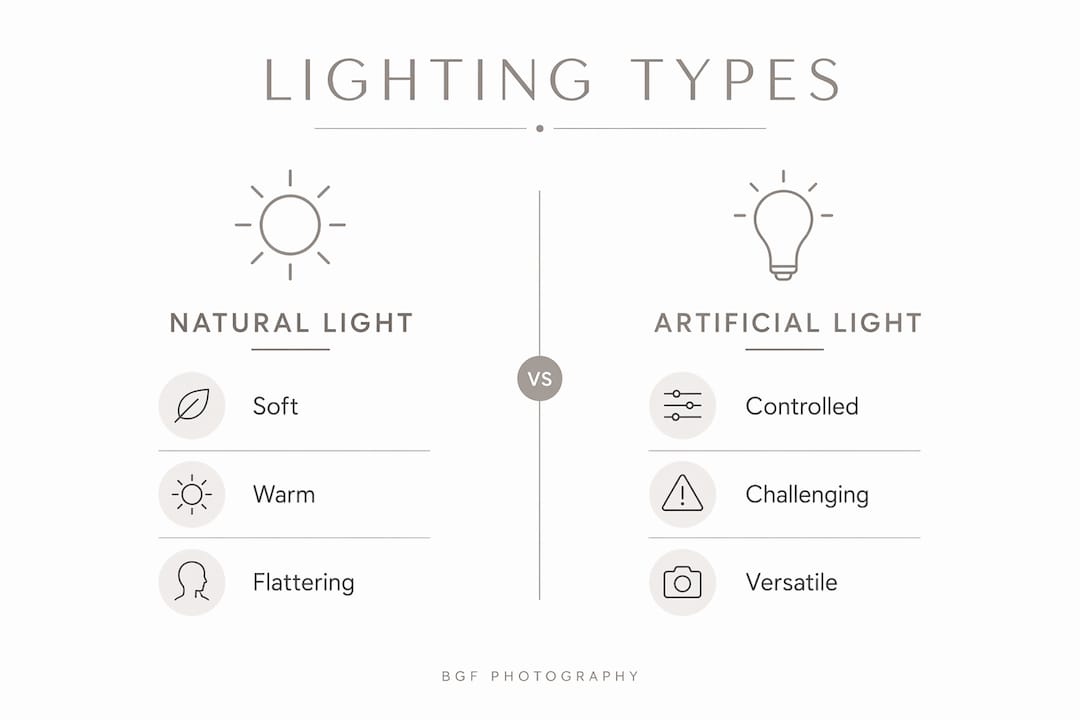
Natural light is the most flattering source available to a wedding photographer. Window light during getting-ready coverage creates soft, directional illumination that wraps around faces without harsh shadows. Open shade outdoors, such as under a tree canopy or building overhang, produces even, diffused light that works well for group portraits.
The challenge arrives at midday. Direct overhead sun creates raccoon-eye shadows under brows and cheekbones, and forces subjects to squint. Photographers handle this by moving couples into open shade or using backlighting techniques. Golden hour light casts a warm, directional glow ideal for romantic, cinematic portraits, which is why many couples prioritize scheduling portraits around sunset.
Indoor artificial light: the real test of skill
Indoor venues present the most complex lighting challenges. Ballrooms, barns, and churches rely on overhead tungsten or fluorescent fixtures that cast color casts ranging from orange to green. These tones affect skin color in photos and require correction either in camera or in post-processing.
| Lighting scenario | Quality | Common challenge | Photographer's fix |
|---|---|---|---|
| Window light (morning) | Soft, directional | Limited to certain rooms | Position subjects near windows |
| Open shade (outdoor) | Even, diffused | Can feel flat | Add fill flash for dimension |
| Midday sun (direct) | Harsh, high contrast | Squinting, deep shadows | Use backlighting or shade |
| Golden hour | Warm, cinematic | Short window of time | Schedule portraits at sunset |
| Indoor reception | Mixed, color-cast | Dim or orange tones | Off-camera flash, white balance |
The key insight: venue lighting shifts from morning to evening, and a prepared photographer brings equipment to supplement dim or color-cast environments. Relying on the venue's existing light alone is a gamble most professionals refuse to take.
Lighting conditions to discuss with your photographer before the wedding:
- The direction and quality of natural light in your ceremony space
- Whether your reception venue has windows or relies entirely on artificial light
- How the light changes from your ceremony start time to your reception end time
- Whether the photographer uses off-camera flash, on-camera flash, or continuous lights indoors
What lighting techniques do professional wedding photographers use?
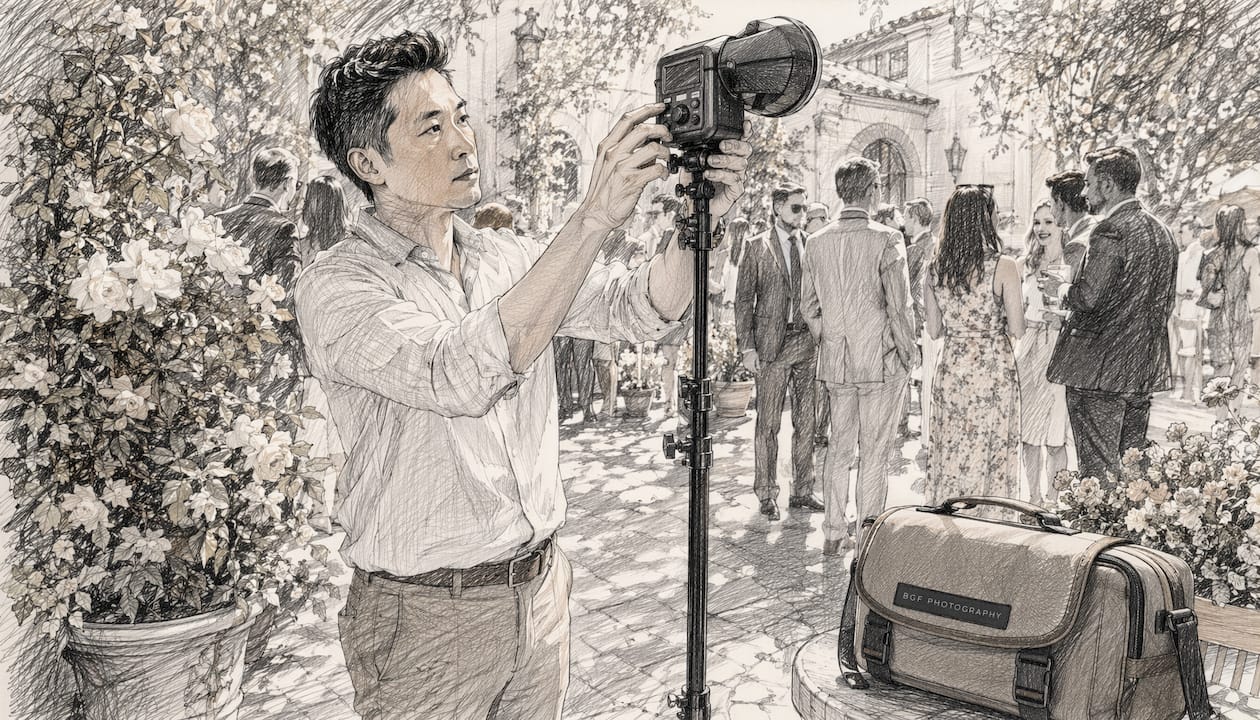
Professional photographers do not wait for good light to appear. They use backlighting, sidelighting at 45-degree angles, and controlled flash to manage every scenario from harsh noon sun to dim reception halls.
The core techniques explained
1. Backlighting Backlighting places the light source behind the subject, creating a glowing rim of light that separates the couple from the background. This technique eliminates squinting and works especially well for veil shots, where light through the fabric produces a luminous, ethereal effect. It is the default approach for handling high, harsh sun without moving to shade.
2. Sidelighting at 45 degrees Placing a light source at a 45-degree angle to the subject creates dimension and depth. This mimics the quality of window light and is the most flattering angle for portraits. Photographers achieve this outdoors by positioning subjects relative to the sun, and indoors by placing off-camera flash at the correct angle.
3. Fill flash Fill flash adds a small amount of artificial light to a naturally lit scene, lifting shadows without overpowering the ambient light. Used correctly, it looks invisible in the final image. It is the difference between a backlit portrait where the faces are properly exposed and one where the faces are silhouetted.
4. Off-camera flash for receptions Reception halls are where many wedding photos fail. Overhead lights create unflattering downward shadows. Off-camera flash adds dimension and maintains consistent, natural-looking skin tones by directing light from the side rather than straight on.
5. Continuous relocation Effective lighting management means photographers continuously assess light direction, quality, and contrast throughout the day. Moving a couple just a few feet from direct sun into open shade, or repositioning them to catch window light, can transform a mediocre portrait into a standout image.
Pro Tip: Ask your photographer to show you a full wedding gallery, not just curated highlights. A full gallery reveals how consistently they handle lighting from morning getting-ready shots through the final reception dance.
How should you plan your wedding timeline for the best lighting?
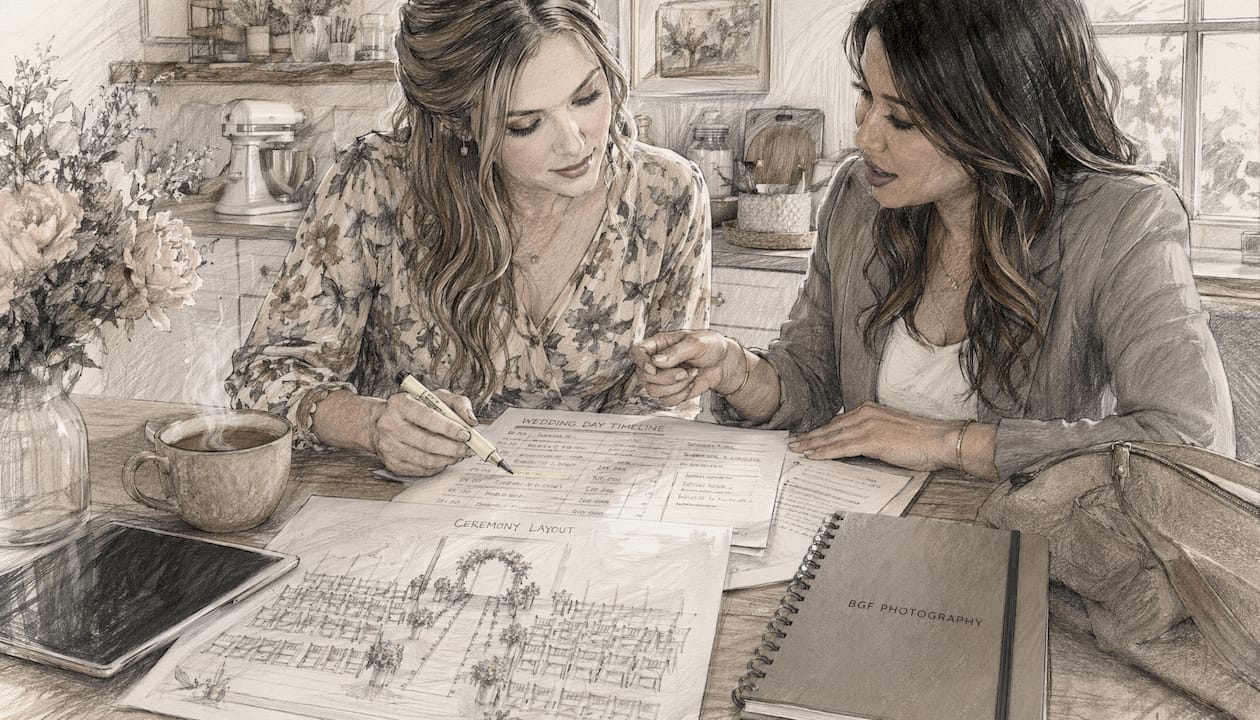
Your wedding day timeline is a lighting plan as much as a schedule. Top photographers review venue orientation and how light transforms through the day before they arrive on your wedding morning.
Scheduling around golden hour
Golden hour, the 30–60 minutes before sunset, produces the most sought-after light in wedding photography. The sun is low, the light is warm and directional, and shadows are long and soft. Scheduling a 20-minute portrait session during this window consistently produces the most memorable images of the day.
The practical challenge is that golden hour conflicts with cocktail hour at many weddings. The solution is a short "golden hour escape" where the couple slips away from guests for portraits while the cocktail hour continues. Most couples find this trade-off worth it when they see the results.
Venue walkthroughs before the wedding day
Skilled photographers perform venue walkthroughs to analyze how light changes through the day, noting window placement, overhead light quality, and natural light shifts. This preparation directly shapes where portraits happen and when. A photographer who has never visited your venue is working blind on your wedding day.
Questions to ask your photographer about timeline and lighting:
- Have you photographed or visited this venue before?
- Where does the best natural light fall during our ceremony time?
- How will you handle portraits if the weather changes or we lose golden hour?
- What is your approach to reception lighting at this specific venue?
Common planning mistakes that hurt photo quality
Relying on post-editing to fix lighting problems is the most common mistake couples make. Editing can correct white balance and exposure to a degree, but it cannot recover detail lost in deep shadows or blown-out highlights. The best approach treats lighting as integral to the wedding day experience, not as something to fix afterward.
Scheduling portraits during the harshest midday sun without a plan is the second most common mistake. If your ceremony ends at 1:00 PM and portraits follow immediately, your photographer needs a clear strategy for managing direct overhead light. Ask about it directly before you book.
Pro Tip: Share your venue's floor plan and any photos of the space with your photographer at least four weeks before the wedding. This gives them time to plan lighting positions and identify potential challenges before the day arrives.
Natural light vs. flash: what is actually true?
The belief that natural light is always better than flash is the most persistent myth in wedding photography. Natural light is not always superior. Professionals use flash to create richness and dimension that ambient indoor light simply cannot provide.
What "available light" actually means at a reception
"Available light" at an indoor reception typically means dim overhead fixtures, colored uplighting, and candles. These sources are beautiful for atmosphere but technically challenging for photography. Skin tones shift toward orange or green depending on the bulb type. Shutter speeds slow down to compensate for low light, causing motion blur during dancing.
Flash, used skillfully, mimics natural light and adds dimension without the artificial look many couples fear. The key word is "skillfully." A photographer who bounces flash off a ceiling or uses a diffuser produces results that look nothing like a direct on-camera flash snapshot.
| Approach | Best for | Trade-off |
|---|---|---|
| Natural light only | Bright venues, daytime, window-lit spaces | Struggles in dim or mixed-light environments |
| Flash as primary | Dark receptions, editorial look, freezing motion | Requires skill to avoid harsh, flat results |
| Flash as fill | Most scenarios, outdoor portraits, mixed light | Needs proper metering and positioning |
When flash is the right choice
Flash is the right choice when the venue is too dark for sharp, well-exposed images without it. It is also the right choice for freezing motion during first dances and receptions, where slow shutter speeds cause blur. Couples who prioritize a film photography aesthetic often find that flash used with film stock produces a specific, rich quality that natural light alone cannot replicate.
The question to ask your photographer is not "do you use flash?" but "how do you use flash, and can I see examples from a reception at a venue similar to mine?" That answer tells you everything about their skill level.
Key Takeaways
Lighting is the most critical factor in wedding photography, and planning for it intentionally produces better results than any amount of post-editing.
| Point | Details |
|---|---|
| Light quality defines the photo | Direction, softness, and color temperature shape mood and skin tones more than any other variable. |
| Golden hour is worth scheduling | A 20-minute portrait session at sunset consistently produces the most memorable wedding images. |
| Flash is a tool, not a problem | Skilled flash use mimics natural light and solves dim reception challenges without looking artificial. |
| Venue walkthroughs matter | Photographers who visit your venue before the wedding day arrive prepared, not guessing. |
| Full galleries reveal true skill | Curated highlights hide lighting inconsistencies. Always ask to see a complete wedding gallery. |
Lighting is the one thing I never stop thinking about
Every wedding I photograph teaches me something new about light. But the lesson I keep coming back to is this: couples who think about lighting before the wedding day get dramatically better photos than couples who leave it entirely to chance.
The trend-driven approach to choosing a photographer, scrolling feeds and picking someone based on a preset or a color palette, risks overlooking the foundational skill of seeing and managing light. Presets are applied after the fact. Light is managed in the moment. Those are completely different skills.
What I have found is that the photographers who produce consistently stunning work across an entire wedding day are the ones who think about light direction before they think about composition. They move their couples. They reposition themselves. They bring equipment not because they distrust natural light but because they refuse to be at the mercy of it.
My honest advice: when you meet with a photographer, ask them what they do when the light is bad. Not what they do when it is beautiful. Anyone can make a great photo at golden hour. The real skill shows up at 2:00 PM under a white tent or in a windowless hotel ballroom. Ask to see those photos. The answer will tell you more than any highlight reel ever could. Couples who communicate their vision clearly and ask the right questions about lighting walk away with photos that hold up for decades.
— Billy
How BGF Photography approaches lighting on your wedding day
BGF Photography treats lighting as the foundation of every wedding it covers, not an afterthought. Before your wedding day, BGF Photography reviews your venue, identifies the best natural light positions, and plans for every lighting scenario your timeline will encounter.
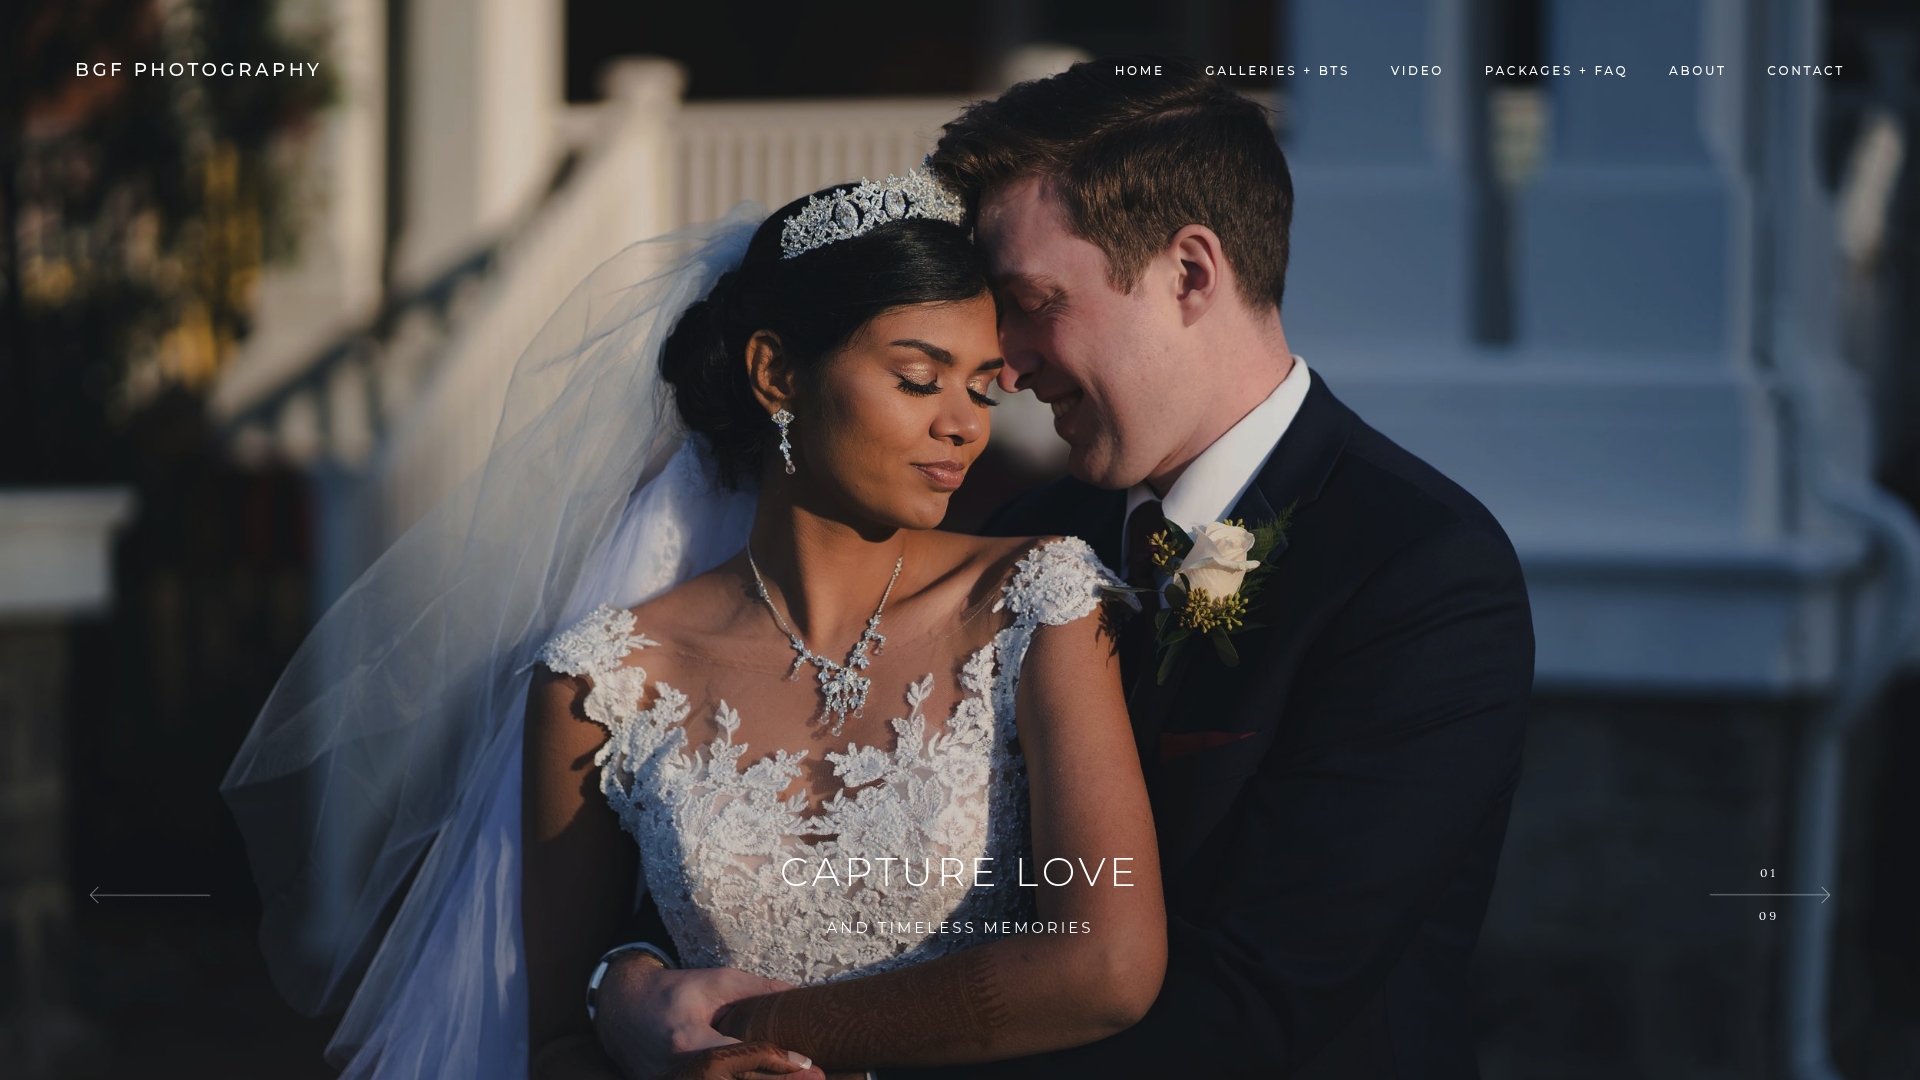
Whether your ceremony is in a sun-drenched outdoor garden or a candlelit historic hall, BGF Photography arrives prepared with the techniques and equipment to handle it. The hybrid photography and videography approach means both your photos and film are captured under one consistent lighting vision, so nothing looks mismatched. Couples in the Buffalo and Rochester, NY areas can review packages and consultation details to see how lighting planning fits into every service level BGF Photography offers.
FAQ
Why does lighting matter more than camera equipment?
Lighting determines the raw quality of every image before the camera is even involved. The best camera cannot recover detail lost to harsh shadows or blown-out highlights caused by poor light management.
What is the best lighting for wedding portraits?
Golden hour light, the 30–60 minutes before sunset, produces the most flattering and cinematic results. Soft window light and open shade are strong alternatives for daytime portraits.
Should I ask my photographer about their lighting approach?
Yes. Ask specifically how they handle dim receptions, midday sun, and mixed indoor light. Request full wedding galleries from similar venues to verify consistent results across different lighting conditions.
Does flash ruin the natural feel of wedding photos?
Flash used skillfully does not look artificial. Photographers who bounce flash or use off-camera positioning produce results that closely mimic natural light while solving the exposure and motion challenges of dark reception venues.
How does the wedding day timeline affect photo lighting?
Your schedule directly controls which lighting conditions your photographer works in. Portraits scheduled at midday require different techniques than portraits at golden hour, and a well-planned timeline accounts for both.