

Natural light is the single most reliable way to make bridal portraits feel soft, authentic, and rich in dress detail. The practical takeaway: schedule your portraits around golden hour, open shade, or a well-positioned window, and confirm your photographer has a plan for each.
"Wherever the sun's coming from, that's where it's coming from — you've just got to deal with it and work around it. Figure out where that sun is coming from and pose your couple appropriately." Behind the Shutter
BGF Photography builds every portrait session around this principle. The documentary-style wedding storytelling that defines modern editorial wedding photography depends on natural light to feel real rather than staged.
Before your next photographer call, run through this quick checklist:
- Ask when they plan golden hour portraits and how long they reserve for them
- Ask which window or shaded spot they prefer at your venue for prep shots
- Confirm whether they use a reflector or low-power fill flash for backlit shots
- Ask how they handle portraits if weather turns overcast
Pro Tip: Write these questions in your phone notes before the consultation. Photographers who answer them specifically, not generically, are the ones who have actually thought through your day.
Table of Contents
- Why does natural light work so well for bridal portraits?
- Natural light vs. flash: when should you use each?
- How natural light changes across your wedding day
- What techniques should you ask your photographer about?
- What happens when the light isn't ideal?
- How should you schedule portraits to get the best light?
- How BGF Photography applies these principles on a real wedding day
- Key Takeaways
- Why natural light is worth protecting in bridal portraits
- Natural-light bridal coverage with BGF Photography
- Useful sources and further reading
- FAQ
Why does natural light work so well for bridal portraits?
Natural light in photography means any light sourced from the sun: direct sun, open shade, skylight, and window light. The key distinction is between diffused and direct sunlight. Direct midday sun casts hard shadows and blows out bright fabrics. Diffused light, whether from clouds, a shaded overhang, or a north-facing window, wraps around a subject evenly and gently.
For bridal portraits specifically, that softness does several things at once:
- Skin tones: Diffused light flatters a wide range of complexions without the color casts that mixed artificial lighting introduces.
- Gown texture: Lace, tulle, and chiffon all read differently under soft light than under a direct flash. The weave and dimension stay visible rather than washing out.
- Emotional authenticity: Because there's no flash triggering, couples tend to relax. Candid expressions are easier to capture when nobody's waiting for a pop of light.
- Editorial look: The timeless, editorial aesthetic that fills wedding magazine spreads is almost always built on natural or natural-looking light.
Overcast skies are particularly useful. Clouds act as a giant natural softbox, diffusing sunlight across the entire sky and eliminating harsh shadows. Many photographers quietly prefer a slightly overcast day for close-up portraits.
Pro Tip: During prep, ask your venue coordinator which suite has the largest windows facing north or east. That room will give you the most consistent, flattering light throughout the morning.
Natural light vs. flash: when should you use each?
Neither approach is universally better. The choice depends on the venue, the time of day, and the look you want.
What natural light does well
- Produces soft, wrap-around light that flatters skin and preserves fabric texture
- Keeps the atmosphere relaxed and candid
- Creates a consistent, cohesive look across the gallery
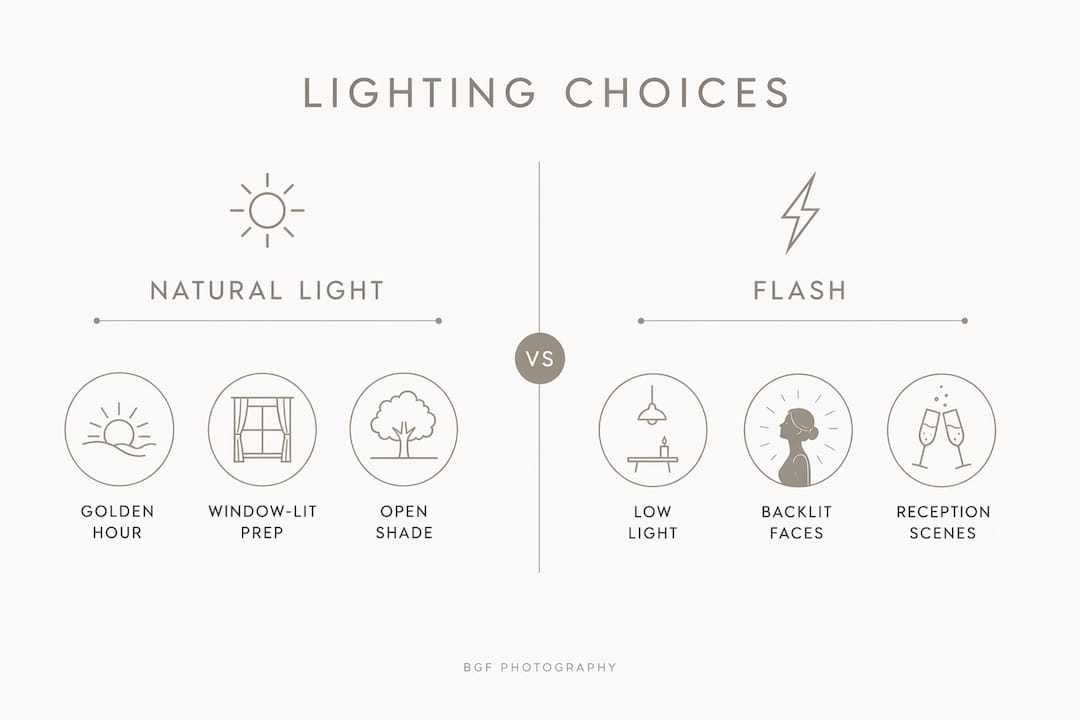
- Works beautifully for outdoor portraits, window-lit prep shots, and golden hour
Where flash earns its place
- Very low-light receptions where ambient light is too dim for clean exposures
- Mixed color temperature situations (tungsten chandeliers plus daylight streaming in) where white balance becomes complicated
- Backlit portraits where the face needs fill to avoid going dark against a bright background
Backlit or rim-light portraits often require a slight overexposure or a low-power fill flash to keep the face visible while preserving the glowing halo around hair and veil. A skilled photographer uses flash here not to overpower the scene but to balance it.
Questions to ask your photographer before booking
- Do you prefer natural light, or do you supplement with flash?
- If you use flash, is it low-power fill or full strobe?
- Will you scout the venue for natural-light portrait spots before the wedding day?
- How do you handle backlit portraits without losing face detail?
- What's your approach when the ceremony space has mixed or low light?
| Situation | Natural Light | Flash |
|---|---|---|
| Golden hour portraits | Ideal | Rarely needed |
| Window-lit prep shots | Ideal | Not recommended |
| Backlit veil shots | Possible with fill | Low-power fill preferred |
| Dark reception hall | Insufficient alone | Required |
| Overcast outdoor portraits | Excellent | Optional |
| Midday harsh sun | Needs shade or scrim | Fill can help |
How natural light changes across your wedding day
Every moment of the day has a different light quality. Knowing which moments benefit most from natural light helps you build a smarter timeline.
Getting ready
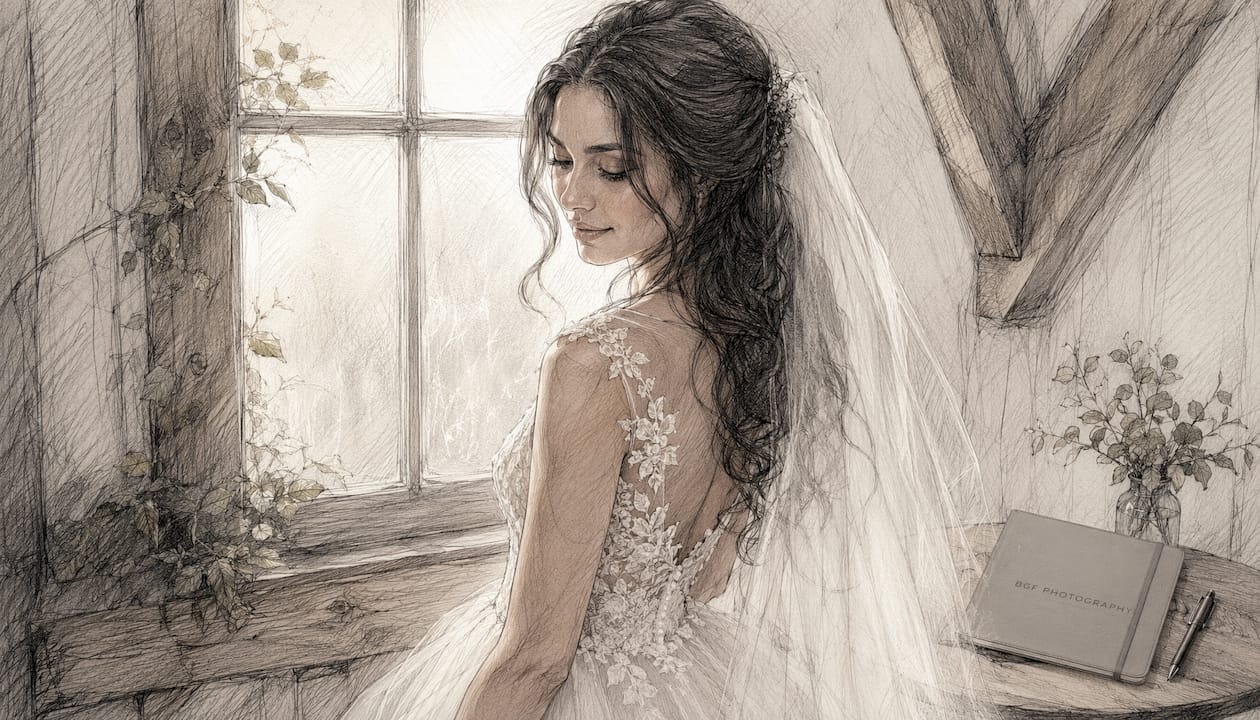
Place the bride near the largest window in the suite. Sheer curtains soften direct sun into something directional and flattering. Window light is often the most powerful single source available in a suite, and how the photographer positions the subject relative to the glass determines whether lace reads as delicate or flat.
First look and couple portraits
Golden hour, the 30–60 minutes after sunrise or before sunset, gives you warm, directional light that wraps around skin and creates a rim glow on veils. Photographers typically plan 20–30 minutes of dedicated golden-hour portrait time. If your ceremony ends before golden hour, open shade under a tree line or a covered terrace gives you a workable alternative.
Pro Tip: Ask your venue whether there's a shaded courtyard or garden area that stays out of direct sun from noon to 3 PM. That spot becomes your midday portrait backup.
Ceremony
Outdoor ceremonies in open shade or under a canopy produce even, flattering light on both partners. Backlit ceremonies, where the couple faces away from the sun, can look stunning but require a photographer who knows how to expose for the faces rather than the sky. Ask specifically how they handle this.
Reception and low-light moments
Receptions are where natural light runs out. A photographer with a strong natural-light preference will still use flash here, but ideally in a way that mimics the softness of ambient light: bounced off ceilings, diffused through a modifier, or kept at low power to supplement rather than replace.
What techniques should you ask your photographer about?
Understanding the specific tools and setups photographers use gives you the vocabulary to ask better questions and recognize a skilled answer.
Window light setups
Moving a bride several feet forward or back from the glass materially changes contrast and how lace and tulle render. Close to the window: high contrast, dramatic shadows. Farther back: softer, more even light. A 45-degree angle to the glass creates a classic portrait light with gentle shadow on one side of the face. Facing the window straight on gives even, flat light that works well for detail shots of the gown.
Backlight and reflectors
Backlighting places the light source behind the subject, creating a rim of light around the hair and veil. The trade-off is that the face can go dark. Photographers solve this with a reflector (a collapsible disc that bounces light back onto the face) or a low-power fill flash. Either approach preserves the natural look while keeping the face properly exposed.
Fabric and light direction
Tulle, chiffon, and lace respond dramatically to backlight and appear almost ethereal when the sun passes through them. Dense satin or heavy silk benefits from side lighting instead, which retains the fabric's shape and sheen without flattening it. Tell your photographer what your dress is made of before the session.
Camera settings by situation
| Situation | Aperture | Shutter Speed | ISO | Notes |
|---|---|---|---|---|
| Golden hour outdoors | — | — | — | Watch for blown highlights on white gown |
| Open shade, midday | — | — | — | Even light; reflector optional |
| Overcast outdoors | — | — | — | Soft, shadow-free; great for close-ups |
| Indoor window light | — | — | — | Fast prime lenses essential |
These are baseline starting points, not universal rules. Your photographer will adjust for your specific venue and conditions.
Pro Tip: Ask your photographer if they shoot RAW files. Shooting RAW and using localized adjustments in post-production gives them far more control over exposure and color without over-editing the natural look.
Questions to bring to your photographer consultation
- Will you use a reflector during portrait time?
- Do you plan fill flash for backlit shots, and how subtle is it?
- How long do you need for golden hour portraits?
- How do you adjust when midday sun is harsh?
- Can you show me examples of window-lit prep shots from past weddings?
What happens when the light isn't ideal?
Weather doesn't cooperate on command. Here's what a skilled photographer does, and what you can do to support them.
Overcast skies are genuinely good news for portraits. The cloud cover acts as a softbox, producing even, shadow-free light that flatters skin and makes close-ups look polished. Many photographers prefer it for detail shots of the gown and rings.
Harsh midday sun is the harder problem. Open shade, covered terraces, or scrims are the standard fixes. If none of those are available, a photographer can use an ND filter to allow a wider aperture and reduce the harshness of the exposure.
Mixed color temperatures (a room with both tungsten lamps and daylight coming through windows) create color casts that are tricky to fix in post. The cleanest solution is to turn off the artificial lights and work with window light alone, or to gel the flash to match the ambient temperature. Ask your photographer how they handle this during prep.
Pro Tip: If your venue has a dark or mixed-light ceremony space, ask your photographer to visit it before the wedding day. A 15-minute scout prevents a lot of improvisation on the day itself.
How should you schedule portraits to get the best light?
Timing is where most couples lose their best light. Golden hour moves fast, and a schedule that runs 20 minutes late can cost you the warmest, most flattering window of the day.
- Find your local golden hour. Search "golden hour calculator" with your wedding date and location. The window typically runs 30–60 minutes before sunset.
- Reserve 20–40 minutes for portraits. Planning even 20 minutes specifically for golden-hour portraits produces outsized results because light changes quickly and a buffer prevents rushed images.
- Build in travel time. If your portrait location is a 10-minute walk from the ceremony space, add that to your timeline both ways.
- Schedule prep portraits early. Window-lit getting-ready shots work best in the morning when light is soft and directional. Don't leave them for late afternoon.
- Ask the venue these questions: Which direction do the suite windows face? Is there a shaded outdoor area accessible between ceremony and reception? Are there any indoor rooms with large north-facing windows?
For a typical wedding day, a workable light-focused structure looks like this: prep portraits near a window in the morning, first look in open shade or soft afternoon light, ceremony in early evening, then 20–40 minutes of golden-hour portraits before the reception begins. Identifying the best window in the suite, marking open-shade spots on a venue map, and confirming the photographer's fill-light plan are the three planning steps that make the biggest difference.
How BGF Photography applies these principles on a real wedding day
At BGF Photography, the approach to natural light is deliberate from the first venue walkthrough. Before the wedding day, Billy identifies the suite window with the best orientation, marks shaded outdoor spots on a mental map of the venue, and notes where golden hour will land relative to the ceremony end time.
On the day itself, the workflow follows a consistent pattern:
- Arrive during prep and position the bride near the strongest window for detail and getting-ready shots.
- Test a few frames at the chosen portrait location before the couple arrives to confirm exposure and reflector position.
- Use a reflector for backlit veil shots to fill the face without introducing a flash signature.
- Reserve the last 20–30 minutes before sunset for golden-hour portraits, with a secondary open-shade location as a backup.
- Switch to low-power fill flash only when ambient light genuinely can't carry the exposure.
"The key skill is active light management — when light isn't ideal, the pro's value is in repositioning the couple near a window or into open shade rather than simply adding flash." Mastering Bridal Portraits
BGF Photography's candid bridal portrait approach is built around this philosophy. The goal is never to manufacture a look with equipment. It's to find the light that already exists and put the couple in it.
Pro Tip: Ask any photographer you're considering to walk you through exactly how they handled light at their last two or three weddings. Specific answers, not general philosophy, tell you whether they've actually solved these problems before.
Key Takeaways
Natural light produces the softest, most authentic bridal portraits when couples schedule for golden hour or open shade, scout window positions during prep, and confirm their photographer's fill-light strategy in advance.
| Point | Details |
|---|---|
| Schedule for golden hour | Reserve 20–40 minutes before sunset; light changes fast and a buffer prevents rushed images. |
| Scout windows during prep | The suite's largest, best-oriented window is your most powerful light source of the morning. |
| Ask about reflectors and fill | Backlit veil shots need a reflector or low-power fill flash to keep the face visible without killing the glow. |
| Match light to fabric | Tulle and lace thrive in backlight; dense satin or silk needs side light to retain shape and sheen. |
| BGF Photography | BGF Photography scouts venues before the wedding day and builds every portrait session around natural light, with hybrid photo/video coverage across Buffalo, Rochester, and the Finger Lakes. |
Why natural light is worth protecting in bridal portraits
The conventional wisdom says a great photographer can make any light work. That's technically true, and it's also a reason couples sometimes under-invest in planning the light. They assume the photographer will handle it. The problem is that "handling it" with flash in a situation that could have been beautiful natural light almost always produces a different image, not a better one.
Flash is a tool, not a substitute for light quality. A backlit bride in golden hour with a reflector filling her face looks different from the same bride lit by a strobe, even a well-placed one. The warmth, the rim glow on the veil, the way the tulle scatters the late sun — none of that is reproducible with artificial light. It exists for maybe 20 minutes on your wedding day.
What couples underestimate is how much of this is in their control. Asking the right questions, communicating your vision clearly to your photographer, and building 20–40 minutes into the timeline for golden-hour portraits are decisions you make, not the photographer. The photographer can only work with the time and access you give them.
Natural-light bridal coverage with BGF Photography
BGF Photography offers candid wedding photography and videography built around natural light, genuine emotion, and a completely unobtrusive approach. For couples in Buffalo, Rochester, and the Finger Lakes region of New York, that means a photographer who scouts your venue before the day, times your portrait session around golden hour, and uses reflectors and minimal fill flash to keep every image feeling real.
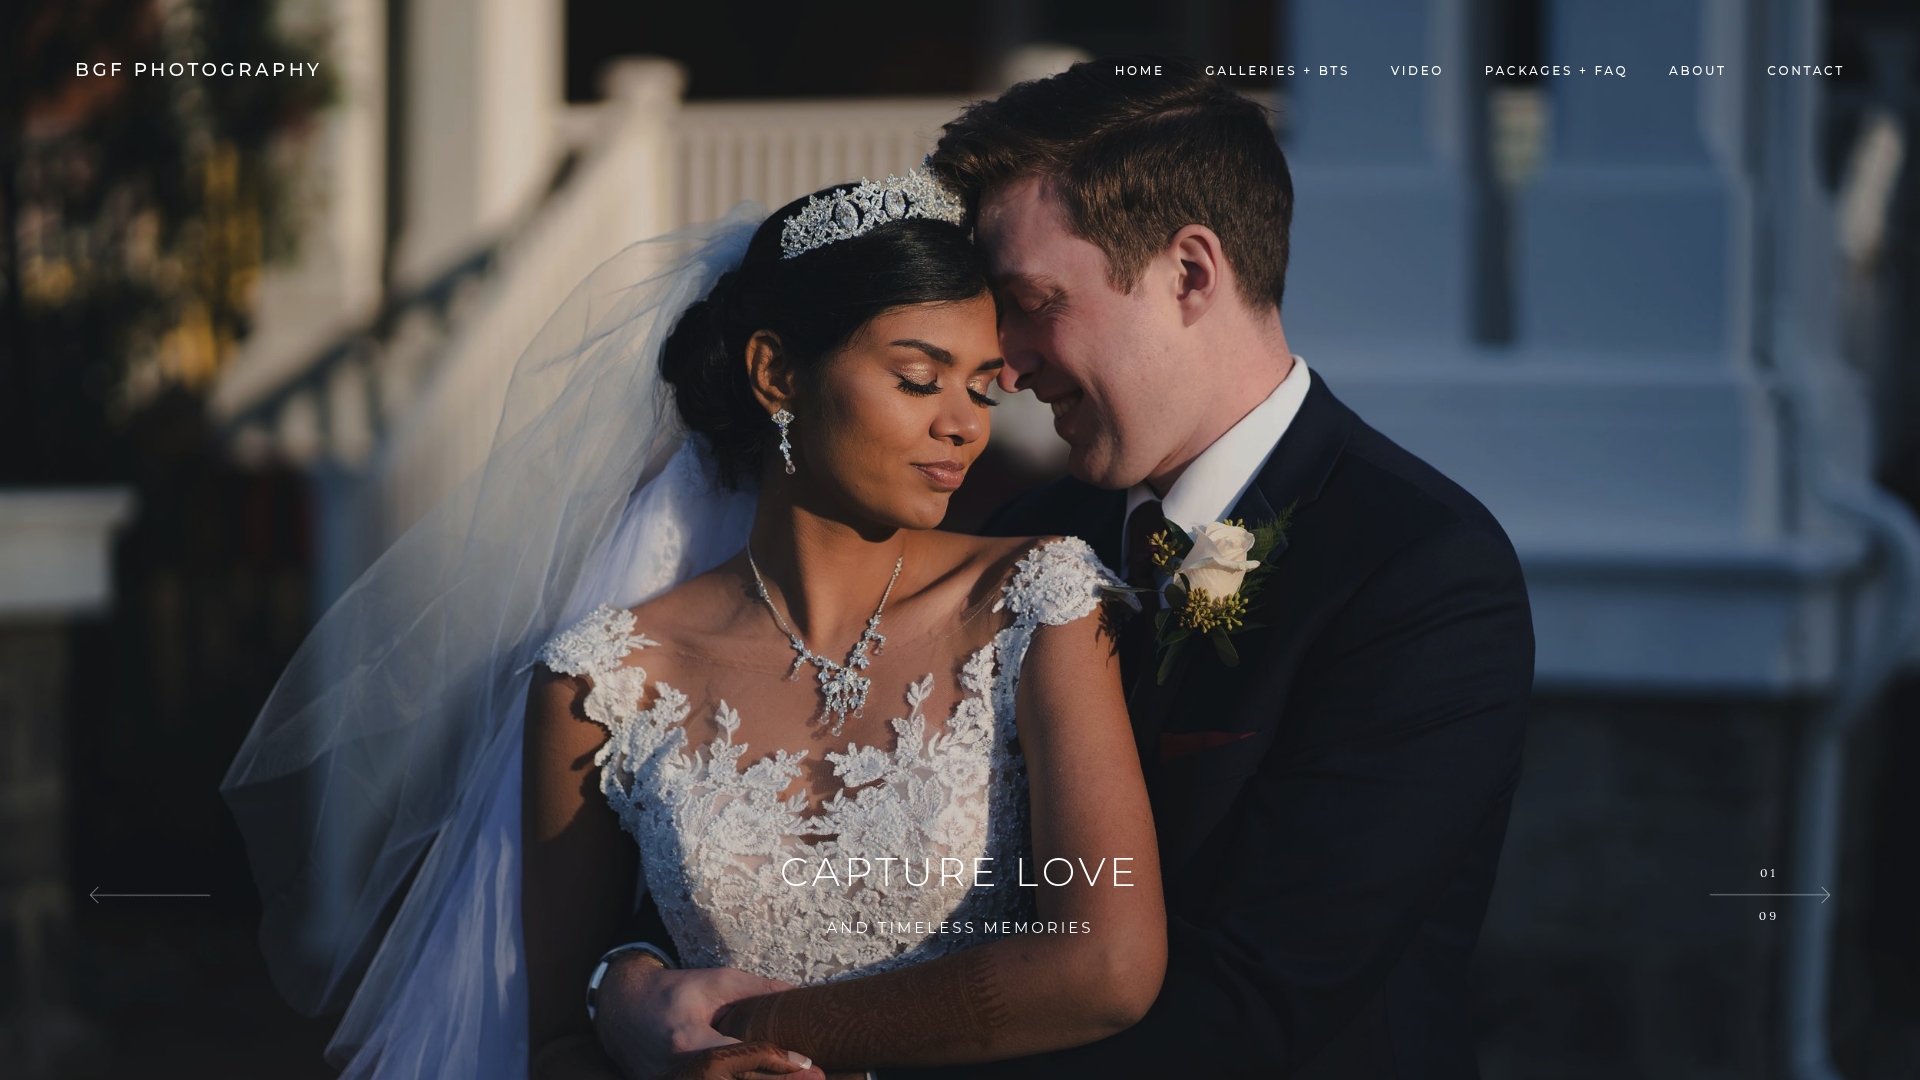
Coverage includes prep and getting-ready portraits near your best window, a dedicated portrait session timed for the strongest light of the day, optional film photography for a nostalgic quality, and hybrid photo/video packages so both services share one cohesive style. Whether your dress is lace, tulle, or heavy silk, the lighting plan adapts to it. Check available dates and packages to see what's open for your wedding date and request a portfolio review.
Useful sources and further reading
- How to Create Natural Light Bridal Portraits — Behind the Shutter: practical posing and light-direction tips from a real location shoot
- Natural Light Wedding Photography — Retouching Labs: overview of the documentary-style aesthetic and editing approach
- The Best Natural Light Tricks for Bridal Photos — ISMATYRA: fabric-specific lighting guidance and overcast-sky technique
- Mastering Bridal Portraits: Flattering Poses and Window Light Techniques — 434 Photo: window-light posing and active light management
- Bridal Portrait Tips with Natural Light — Shari Photography: golden hour timing and session planning
BGF Photography blog posts to read next:
- Why lighting matters in your wedding photos
- Golden hour wedding photography: what you need to know
- How to prepare for candid wedding photos
When comparing photographers, look for galleries that show variety across light conditions: window-lit prep shots, open-shade portraits, and golden-hour images. A portfolio that only shows ideal light tells you less than one that shows how the photographer handles every moment of the day.
FAQ
What is the best time of day for natural light bridal portraits?
Golden hour, the 30–60 minutes before sunset, produces the warmest, most flattering light for bridal portraits. Photographers typically reserve 20–40 minutes specifically for this window.
Does overcast weather ruin outdoor bridal portraits?
No. Overcast skies act as a natural softbox, producing even, shadow-free light that flatters skin and gown fabrics. Many photographers prefer it for close-up and detail shots.
When should a photographer use flash instead of natural light?
Flash is most useful in very low-light receptions, mixed color temperature spaces, and backlit portraits where the face needs fill. A low-power fill flash preserves the natural look while balancing the exposure.
How does dress fabric affect the lighting plan?
Lightweight fabrics like tulle, chiffon, and lace look ethereal in backlight. Dense satin and heavy silk photograph better with side lighting, which retains the fabric's shape and sheen.
How do I communicate my natural light preferences to my photographer?
Ask specifically about golden hour timing, window-light setups during prep, and their reflector or fill-flash strategy for backlit shots. BGF Photography welcomes these conversations before the wedding day to build a lighting plan around your vision.